
Learn how to propagate roses from cuttings. This is a great way to multiply your rose bushes easily and inexpensively.
Propagating roses from cuttings is a practical and fulfilling way to expand your rose garden.
We’re going to discuss stem cuttings, a widely used method known for its effectiveness and simplicity.
By following the steps below, you can cultivate new rose plants from existing ones, offering a sustainable approach to enhancing your garden.
Whether you’re a seasoned gardener or a beginner, this process allows you to replicate your favorite rose varieties, making sure to have a continuous display of beauty in your garden year after year and allows you to share your plant with others.
Let’s dive into the specifics of timing, stem selection, cutting preparation, and the planting process to make sure you are successful with rose propagation.
Table of Contents
Best Time to Take Rose Cuttings for Propagation
It’s very important to take cuttings and propagate them at the right time. The best time to do this is in late spring or early summer.
Why is this the best time?
In late spring or early summer, your rose plants are growing a lot and are very strong. This is when they have lots of energy to make new growth.
When you take a cutting during this time, it has a better chance of growing roots and turning into a new rose plant.
You should try to avoid very hot or very cold times of the year, like the middle of summer or winter. During these times, both the rose plant you’re cutting from and the new cuttings might not do as well because of the extreme weather.
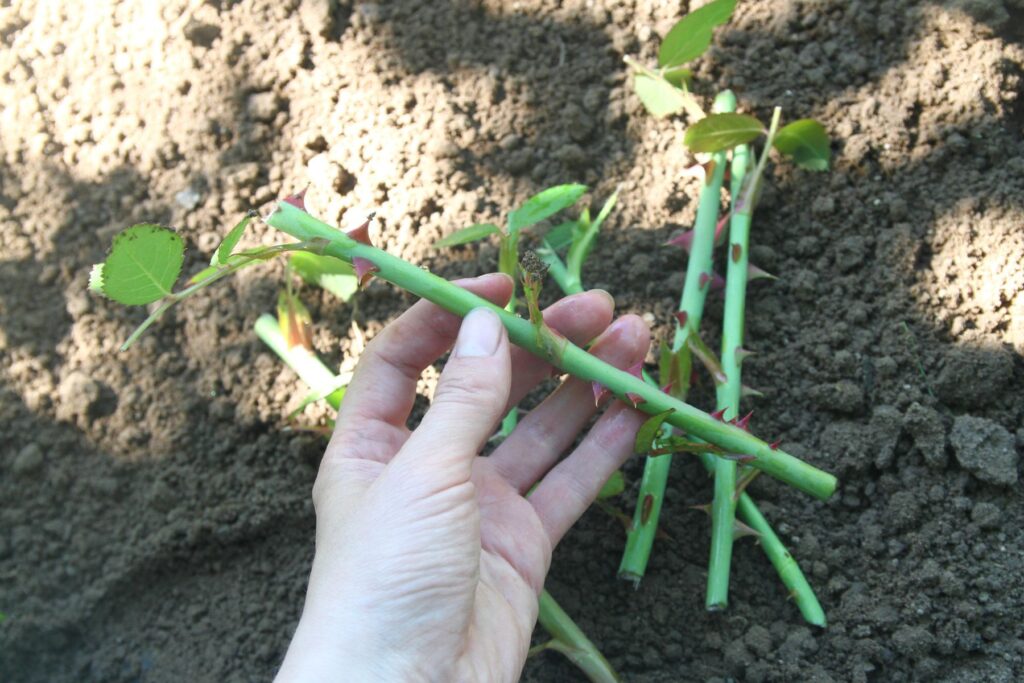
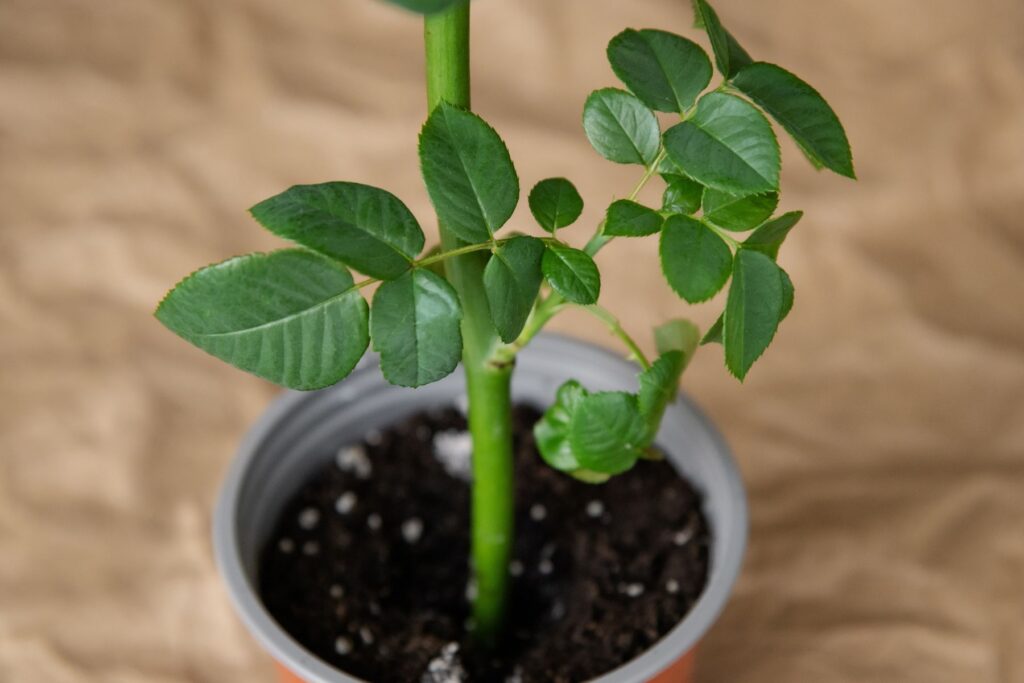
Choose Healthy Rose Stems
Picking healthy stems is really important to make sure your new roses grow well.
Here’s what to look for when you’re choosing stems:
- Pick Stems from This Year’s Growth: Look for stems that grew this year. They are usually greener and fresher looking. Older stems might not work as well.
- Check for Good Health: Make sure the stems you choose are healthy. They shouldn’t have any spots, color changes, or look sick. The stems should be strong and not too thin or too thick – about as thick as a pencil is just right.
- Length of the Stem: Your cutting should be about 6-8 inches long.
Remember, the better the stem you choose, the better chance your new rose plant will grow strong and healthy. So, take your time and pick the best stems you can find!
How to Prepare Rose Cuttings
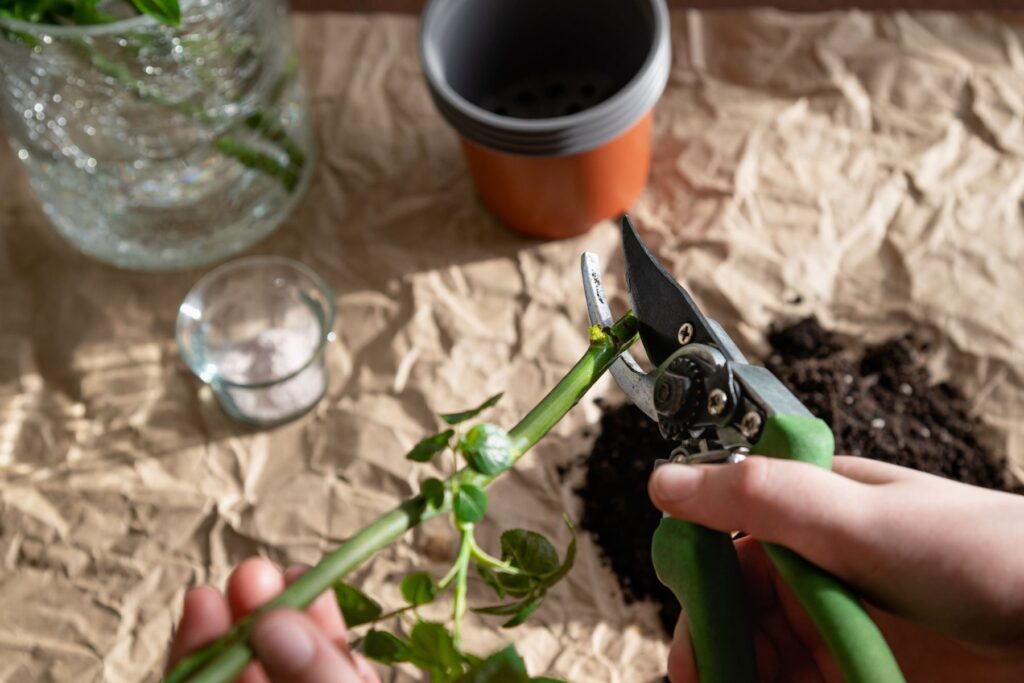
Once you’ve chosen the right stems, it’s time to get them ready to grow into new rose plants.
Here’s how to prepare your cuttings:
- Use Clean Tools: Make sure you have a pair of pruning shears, and that they are clean.
- Making the Cut: You want to cut about 6-8 inches from the top of the stem. Make sure to cut at a 45-degree angle right below where a leaf comes out of the stem (this is called a leaf node). Cutting at an angle helps the stem take in more water and grow roots better.
- Remove the Extras: After you make your cut, take off any flowers or buds from the stem. Also, remove the leaves from the bottom half of the cutting. The part of the stem with no leaves will be planted in the soil. Keeping some leaves on the top half is good because they help the cutting grow.
- Getting Ready to Plant: Now that your cutting is prepared, it’s almost ready to be planted. You can put it in a little bit of water for a short time until you’re ready to plant it in the soil.
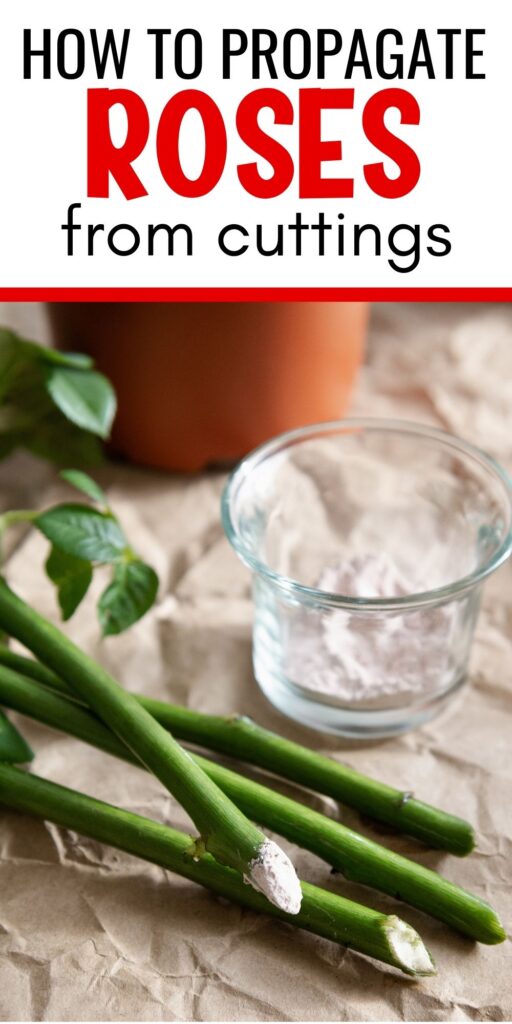
Using Rooting Hormone (Optional)
You can use rooting hormone if you want, although it’s optional.
If you decide to use rooting hormone, here’s how to do it:
- What is Rooting Hormone?: Rooting hormone can be a powder or a gel that you put on the cut end of your stem. The ingredients will help the cutting grow roots faster and stronger.
- How to Use It: If it’s a powder, pour a little bit into a small container. If it’s a gel, you can use it straight from the container it comes in. You don’t need a lot, just enough to cover the end of the cutting.
- Dip the Cutting: Take the bottom end of your cutting (the part you cut at an angle) and dip it into the rooting hormone. You only need to cover about an inch of the bottom part. Make sure the hormone gets on all sides of the cut end.
- Shake Off the Extra: If you’re using powder, gently tap the cutting on the side of the container to shake off any extra powder. You want a thin, even layer on the cutting.
- Plant the Cutting: After you’ve put the rooting hormone on, your cutting is ready to be planted in the soil.
Remember, rooting hormone isn’t necessary, but it can help your cuttings grow roots more easily.
Whether you use it or not, the most important part is taking good care of your cuttings while they grow.
How to Plant Rose Cuttings
After preparing your rose cuttings, the next step is to plant them.
Here’s what you need to do:
- Prepare the Soil: Choose a pot with drainage holes at the bottom. Fill it with a soil mix that drains well. A mixture of peat and perlite or sand works great. This kind of soil helps keep the right amount of moisture around the cutting.
- Make a Hole for the Cutting: Use a pencil or a stick to make a small hole in the soil. This hole is where you’ll put your cutting. Making a hole first helps prevent the rooting hormone (if you used it) from rubbing off when you plant the cutting.
- Planting the Cutting: Take your prepared cutting and gently place it in the hole you made. About 2-3 inches of the cutting should be buried in the soil, including at least one leaf node (the part where you removed the leaves). This is where new roots will grow from.
- Securing the Cutting: Once the cutting is in the soil, gently press the soil around it. This will help the cutting stay upright and in good contact with the soil.
- Water the Soil: After planting, water the soil gently to help settle everything. The soil should be moist but not too wet. Over-watering can cause the cutting to rot, so just enough water to dampen the soil is perfect.
Create a Humid Environment
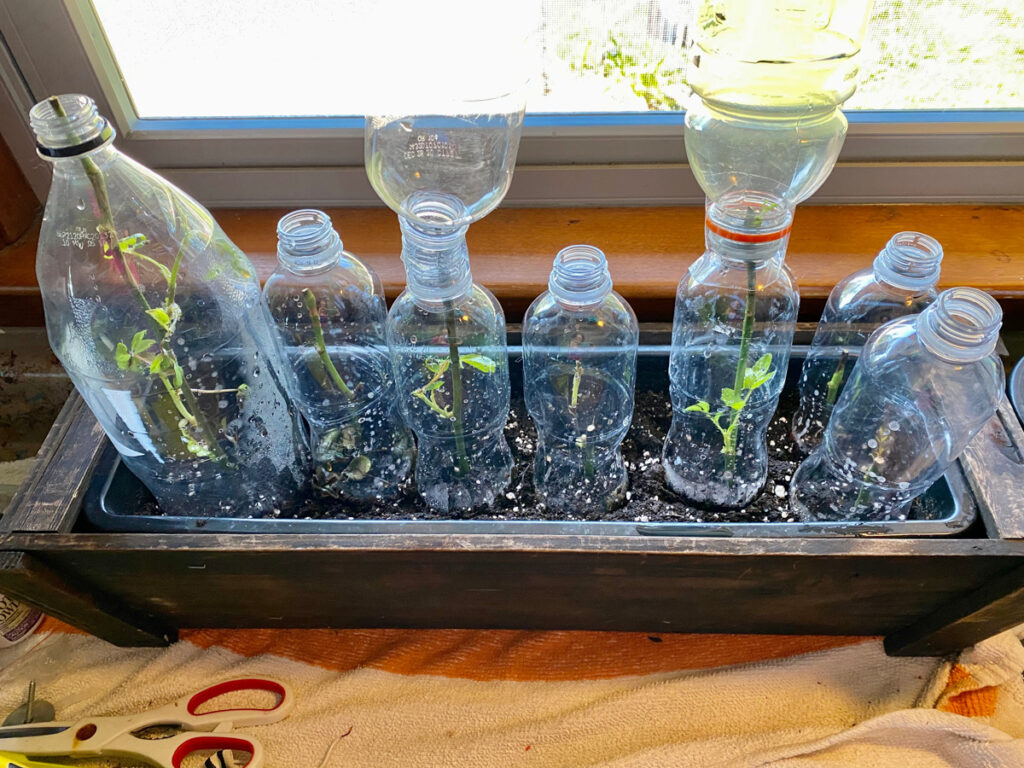
After planting your rose cuttings, make sure to create a humid environment for them.
- Why Humidity is Important: Cuttings don’t have roots yet to get water from the soil, so they need moisture in the air to help them stay hydrated. A humid environment also keeps the soil from drying out too quickly.
- Covering the Cuttings: You can use a clear plastic bag or a plastic dome to cover your pot. This will act like a mini greenhouse, trapping moisture and creating a humid atmosphere around your cuttings.
- Setting Up the Cover: If you’re using a plastic bag, put some sticks or wires in the pot to keep the plastic from touching the cuttings. Then, gently place the bag over the pot and secure it at the bottom. If you have a plastic dome, just place it over the pot.
- Ventilation: Every few days, open the cover for a little while to let fresh air in. This helps prevent mold and fungus from growing.
- Where to Keep the Pot: Put your pot in a place where it gets indirect light. Direct sunlight can make it too hot inside the cover, which isn’t good for the cuttings.
- Checking for Moisture: Look at the soil under the cover every few days. If it looks dry, gently water the soil to keep it moist.
Watering and Waiting
- Watering the Cuttings: Your rose cuttings need the soil to be moist but not too wet. Check the soil every few days by gently poking your finger into it. If the top inch of soil feels dry, it’s time to water. When you water, do it gently so you don’t disturb the cuttings.
- How Often to Water: The frequency of watering will depend on factors like the temperature and humidity. There’s no set schedule – it’s more about checking the soil and seeing if it needs water.
- Waiting for Roots to Grow: It can take 4-8 weeks for roots to start growing. During this time, just keep an eye on the moisture level and wait.
- Checking for Root Growth: After about a month, you can start checking if your cuttings have grown roots. Gently tug on a cutting. If you feel a little resistance, it means roots are forming. If the cutting comes out easily, it hasn’t rooted yet. Just put it back and give it more time.
- Taking Care of the Cuttings: While you’re waiting, keep the cuttings in their humid environment and continue to keep the soil moist. Make sure they get enough indirect light and not too much heat.
- Be Prepared for Success and Failure: Remember, not all cuttings will grow roots. That’s just how it works. But don’t get discouraged – the more cuttings you plant, the better your chances of success.
With the right care and a little bit of patience, you’ll hopefully see your cuttings start to grow into new rose plants. Just keep taking care of them and watching for those new roots!
Transplanting
Once your rose cuttings have developed roots, it’s time for the exciting part – transplanting them into their new home. Here’s how to transplant your rooted cuttings:
- Check for Strong Roots: Before you transplant, make sure the cuttings have strong enough roots. The roots should be a few inches long and look healthy. If the roots are still short or very fragile, give them a bit more time to grow.
- Prepare for Transplanting: Choose a new pot or a spot in your garden for each cutting. If you’re using pots, make sure they have good drainage holes. For garden planting, pick a spot with well-draining soil and some protection from the hottest sun.
- The Right Soil: Use good quality potting soil for pots. For garden planting, you can mix some compost or potting soil into the ground to make it richer.
- Transplant the Cuttings: Carefully remove the cutting from its current pot. Try not to disturb the roots too much. Make a hole in the new soil big enough to fit the roots comfortably. Place the cutting in the hole and gently fill in around it with soil.
- Water After Transplanting: Water the newly transplanted cuttings well. This helps settle the soil around the roots and gets them off to a good start.
- Aftercare: For the first few weeks, keep an eye on your new rose plants. Make sure they don’t dry out and protect them from extreme weather. They will still need a bit of extra care until they’re fully established.
- Enjoy Your Success: Once your transplanted cuttings start to grow and bloom, enjoy the results of your hard work. You’ve successfully propagated new roses!
With careful attention and a little more patience, your cuttings will grow into beautiful rose bushes, adding charm and color to your garden.
Additional Tips and Tricks
Here are some extra tips and tricks to help you succeed in propagating roses from cuttings:
- Choose the Right Variety: Some rose varieties root more easily than others. If you’re a beginner, start with a variety known for its ease of propagation.
- Keep Tools Sharp and Clean: Always use sharp and clean pruning shears to make clean cuts. This prevents damage to the parent plant and the cuttings, and reduces the risk of disease.
- Use Fresh Water for Rooting: If you place cuttings in water before planting, make sure the water is fresh and change it every few days to prevent bacterial growth.
- Avoid Direct Sunlight: While your cuttings need light, direct sunlight can be too intense and may harm them. A spot with bright, indirect sunlight is best.
- Monitor Humidity and Ventilation: Regularly check under the plastic cover for signs of mold or fungus. To help prevent this, make sure they have good ventilation.
- Experiment with Different Methods: Don’t hesitate to try different methods of propagation, like layering or division, especially if stem cuttings don’t work for you initially.
- Label Your Cuttings: If you’re propagating different varieties, label each cutting. This will help you keep track of what works best for each type.
- Be Patient and Persistent: Some cuttings may take longer to root than others. Don’t get discouraged if you don’t see immediate results.
- Learn from Failure: If a cutting doesn’t take root, don’t see it as a failure. Instead, use it as a learning experience to improve your technique.
Gardening is as much about the journey as it is about the result. Each attempt teaches you something new, so keep experimenting, learning, and enjoying the process of growing your beautiful roses.