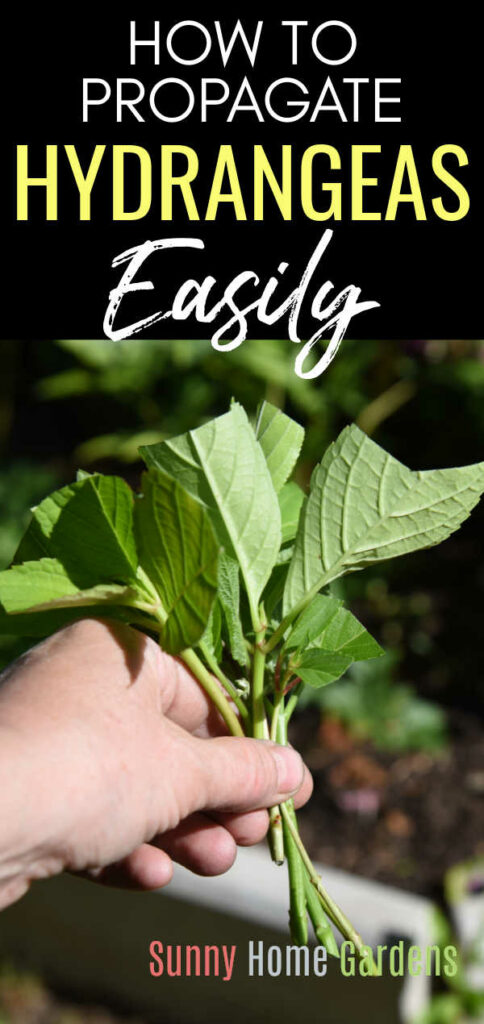
Learn all about How to Propagate Hydrangeas in your garden. These beautiful plants are easier to propagate than you might think.
Hydrangeas are beautiful flowers that many people love to have in their gardens.
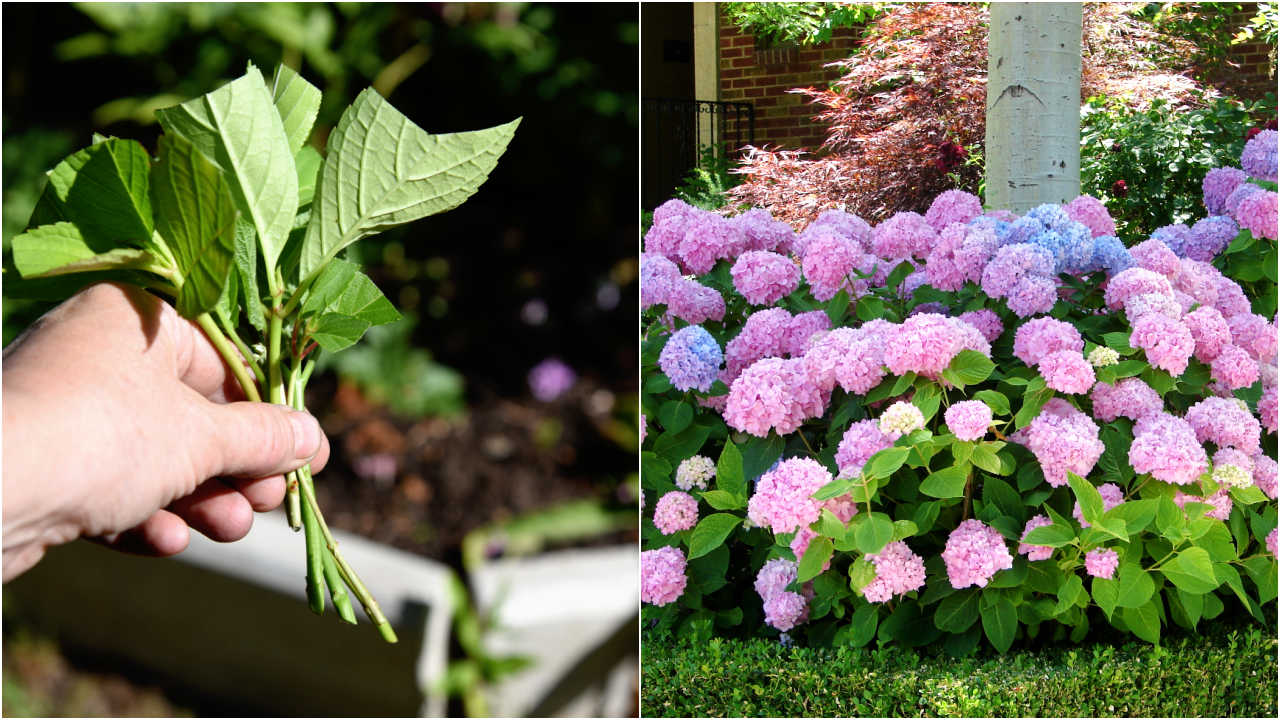
Hydrangeas have big, colorful blooms that can be pink, blue, purple, or white. Something really cool, is that you can change the flower color for some types of hydrangeas. Gardeners, both young and old, enjoy watching these flowers grow and change with the seasons.
When we plant more hydrangeas in our garden, it’s called “propagation.” This article will teach you how to do that. By the end, you’ll know how to make your garden full of these lovely flowers. Plus, when hydrangeas bloom, they attract friendly visitors like bees and butterflies.
So, let’s learn together and make our gardens a colorful and happy place!
Table of Contents
Types of Hydrangeas
Hydrangeas are not just one kind of flower. There are a few different types that you might see in gardens or at the nursery. Let’s talk about the most common ones:
- Bigleaf Hydrangeas (Hydrangea macrophylla): These are the ones you might see a lot. They have big, round blooms that can be blue, pink, or purple. Some gardeners call them “mophead” because the blooms look like the top of a mop!
- Panicle Hydrangeas (Hydrangea paniculata): These hydrangeas have cone-shaped flowers. They can be white, green, or even a mix of pink and red. They’re like a colorful ice cream cone for your garden!
- Smooth Hydrangeas (Hydrangea arborescens): These have round, white flowers. Some people know them as “Annabelle hydrangeas” because of a popular kind with big white blooms.
Even though these hydrangeas look different, the way we plant and take care of them is pretty similar. But, there might be small changes in how we make more of each type. Don’t worry! We’ll learn about that together.
Method 1: Taking Cuttings
One of the most popular methods of propagation is taking cuttings. This involves creating a new plant from a section of stem. The best time to take cuttings is from late spring to early summer, when the plant is actively growing.
Step 1: Choose a Stem
The first step in the cutting process is selecting the right stem. Choose a healthy-looking stem from the current season’s growth. These stems are typically lighter in color and more flexible than older growth. Ensure the stem you select has no flowers or flower buds, as they divert energy away from root formation.
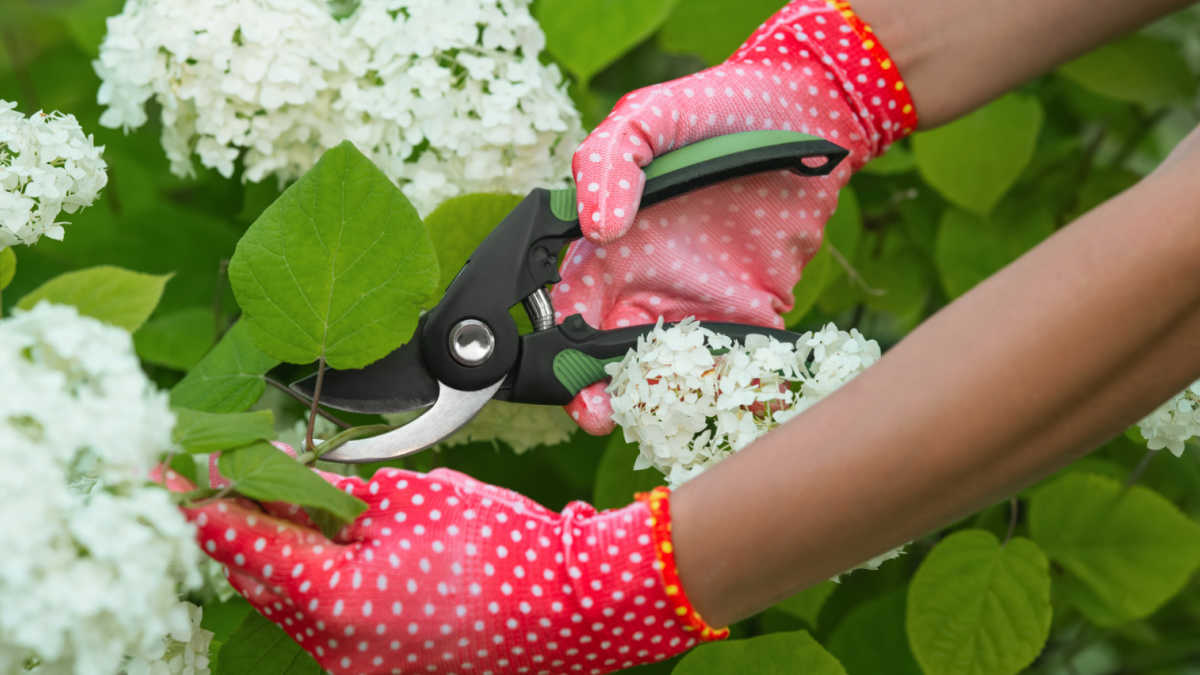
Step 2: Prepare Your Cutting
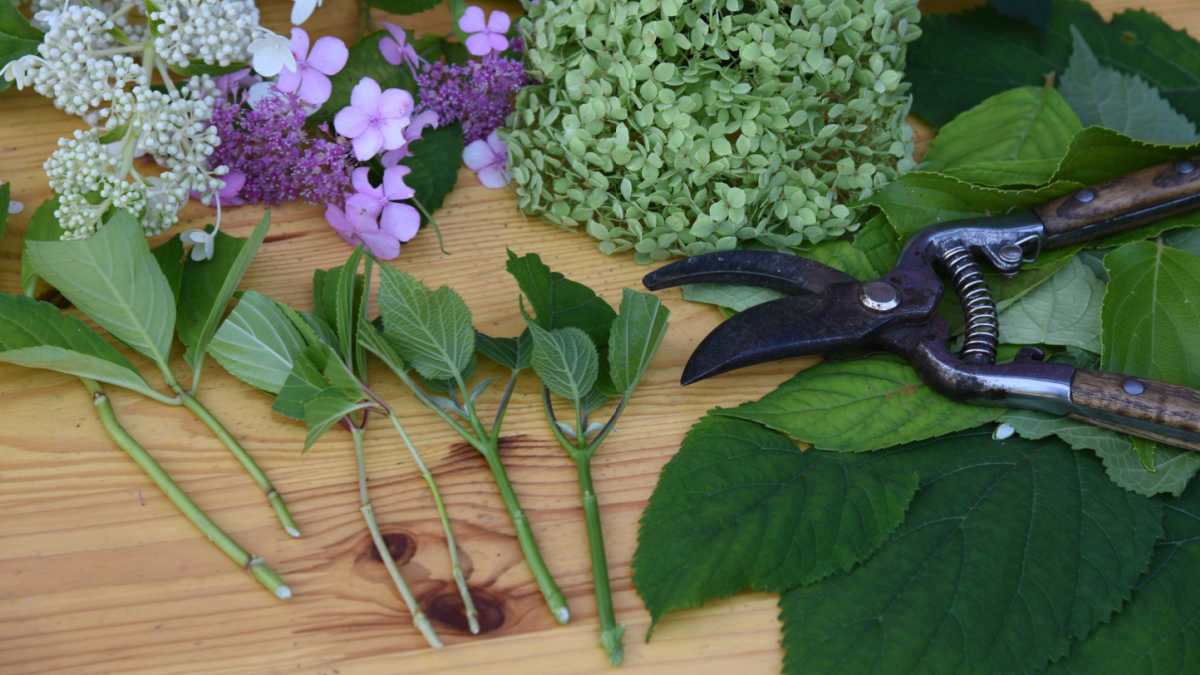
With a sharp, clean knife or pruners, cut a piece of stem about 5-6 inches long, just below a leaf node (the point where leaves grow out from the stem). Remove all the leaves from the lower half of the cutting to reduce water loss and encourage root growth.
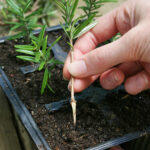
Step 3: Rooting Your Cutting
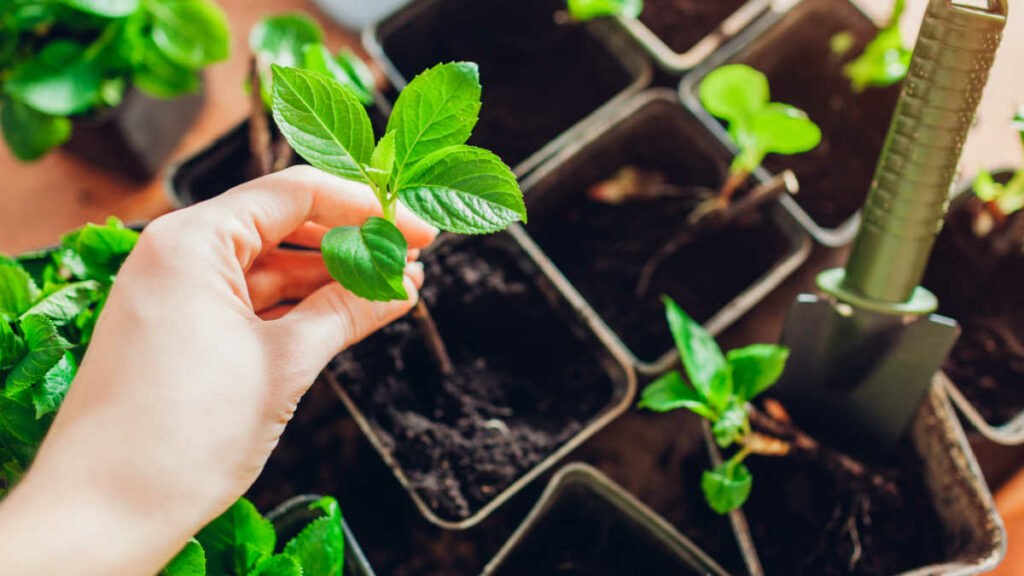
Dip the cut end of the stem into a rooting hormone. This step, while not mandatory, can significantly increase your chances of successful rooting. The rooting hormone promotes the formation of roots at the cut end of the stem.
Next, plant your cutting in a pot filled with a well-draining soil mix, such as a combination of perlite and peat moss. Insert the cut end of the stem about 2 inches into the soil.
Step 4: Maintaining Your Cutting
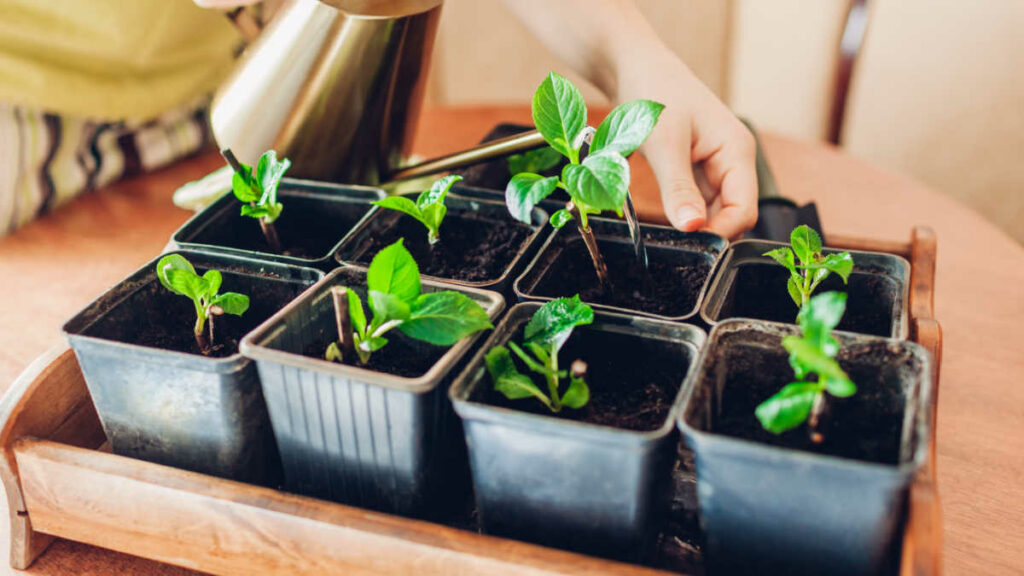
After planting, water the cutting thoroughly and place it in a bright location, out of direct sunlight. Maintain a high humidity environment by covering the pot with a plastic bag or placing it in a propagation box. Keep the soil moist but not waterlogged, as too much water can cause the cutting to rot.
In a few weeks, the cutting will start developing its own roots. You can check for root growth by gently tugging on the cutting; if there’s resistance, roots are forming.
Method 2: Dividing Established Plants
Another effective way to propagate hydrangeas is by dividing mature plants. This is best done in early spring, before new growth starts, when the plant is still dormant.
Step 1: Dig Up the Plant
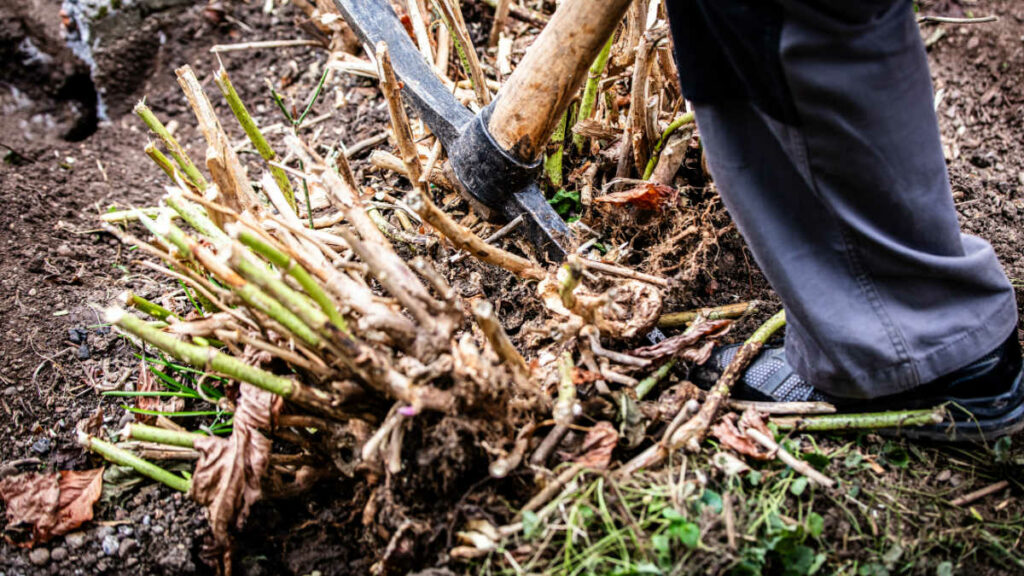
Choose a mature hydrangea plant that’s at least a few years old and has multiple stems. With a shovel, carefully dig up the entire plant, taking care not to damage the root system.
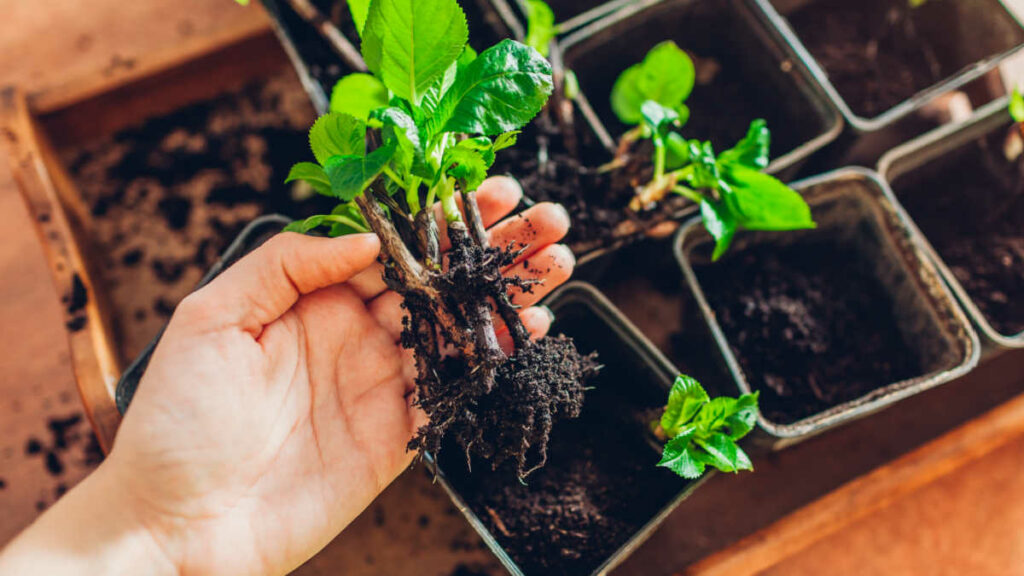
Step 2: Divide the Plant
Using a sharp, clean knife or a shovel, carefully divide the root ball into smaller sections, each with some roots and shoots. The shoots will grow into the stems and leaves of your new plants.
Step 3: Replant the Divisions
Replant each division in a prepared hole that is wide and deep enough to accommodate the roots. Ensure each division is spaced 2-3 feet apart from one another to allow room for growth. Water thoroughly after planting.
Method 3: Simple Layering
The third method of propagation, layering, involves rooting a stem while it’s still attached to the parent plant. This method is most successful during spring and summer when the stems are flexible.
Step 1: Choose a Stem
Find a long, flexible stem that can reach the ground easily. The stem should be healthy and free of any signs of disease or damage.
Step 2: Prepare the Stem
Bend the stem to the ground, and at the point where it touches, wound the underside lightly with a knife. This wounding process encourages root formation.
Step 3: Layer the Stem
Dig a shallow hole at the point where the stem touches the ground. Apply some rooting hormone to the wound, then bury the wounded part of the stem in the hole. You can use a rock or a piece of wire to keep the stem in place.
Step 4: Encourage Root Growth
Keep the soil moist at the layering site. Over time, the buried part of the stem will develop roots. Once a healthy root system has established (this may take a few months), you can sever the new plant from the parent stem and transplant it to a new location.
Conclusion
Each method of hydrangea propagation has its own advantages and may be more suitable for certain situations than others.
Taking cuttings is a straightforward process that can yield a new plant relatively quickly.
Division is a great choice for expanding a collection of mature plants, and layering is a simple, hands-off method that requires little intervention.
Regardless of the method you choose, with a bit of patience and proper care, you can propagate new hydrangea plants, expand your garden, and experience the joy of watching your new plants flourish. Happy gardening!