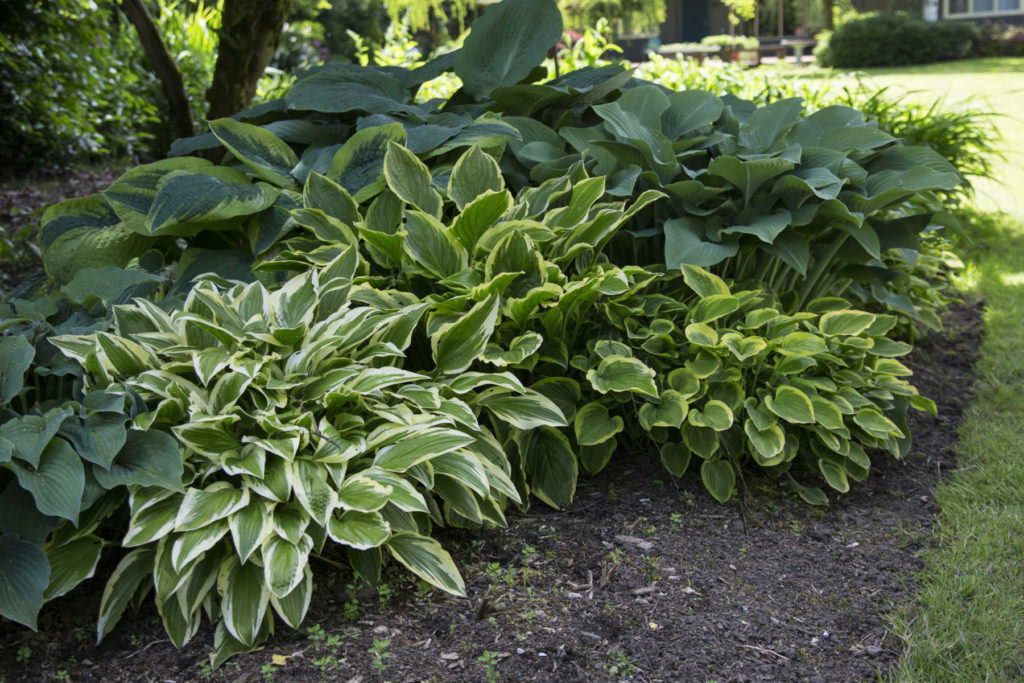
Hosta plants have lovely foliage that are perfect for adding to your landscape.
Hostas (Hosta x. tardiana) are the go-to perennial plant for shady landscape areas. They require minimal care and their attractive foliage add textural interest as well as bloom color to the landscape from early spring until the first frost of fall.
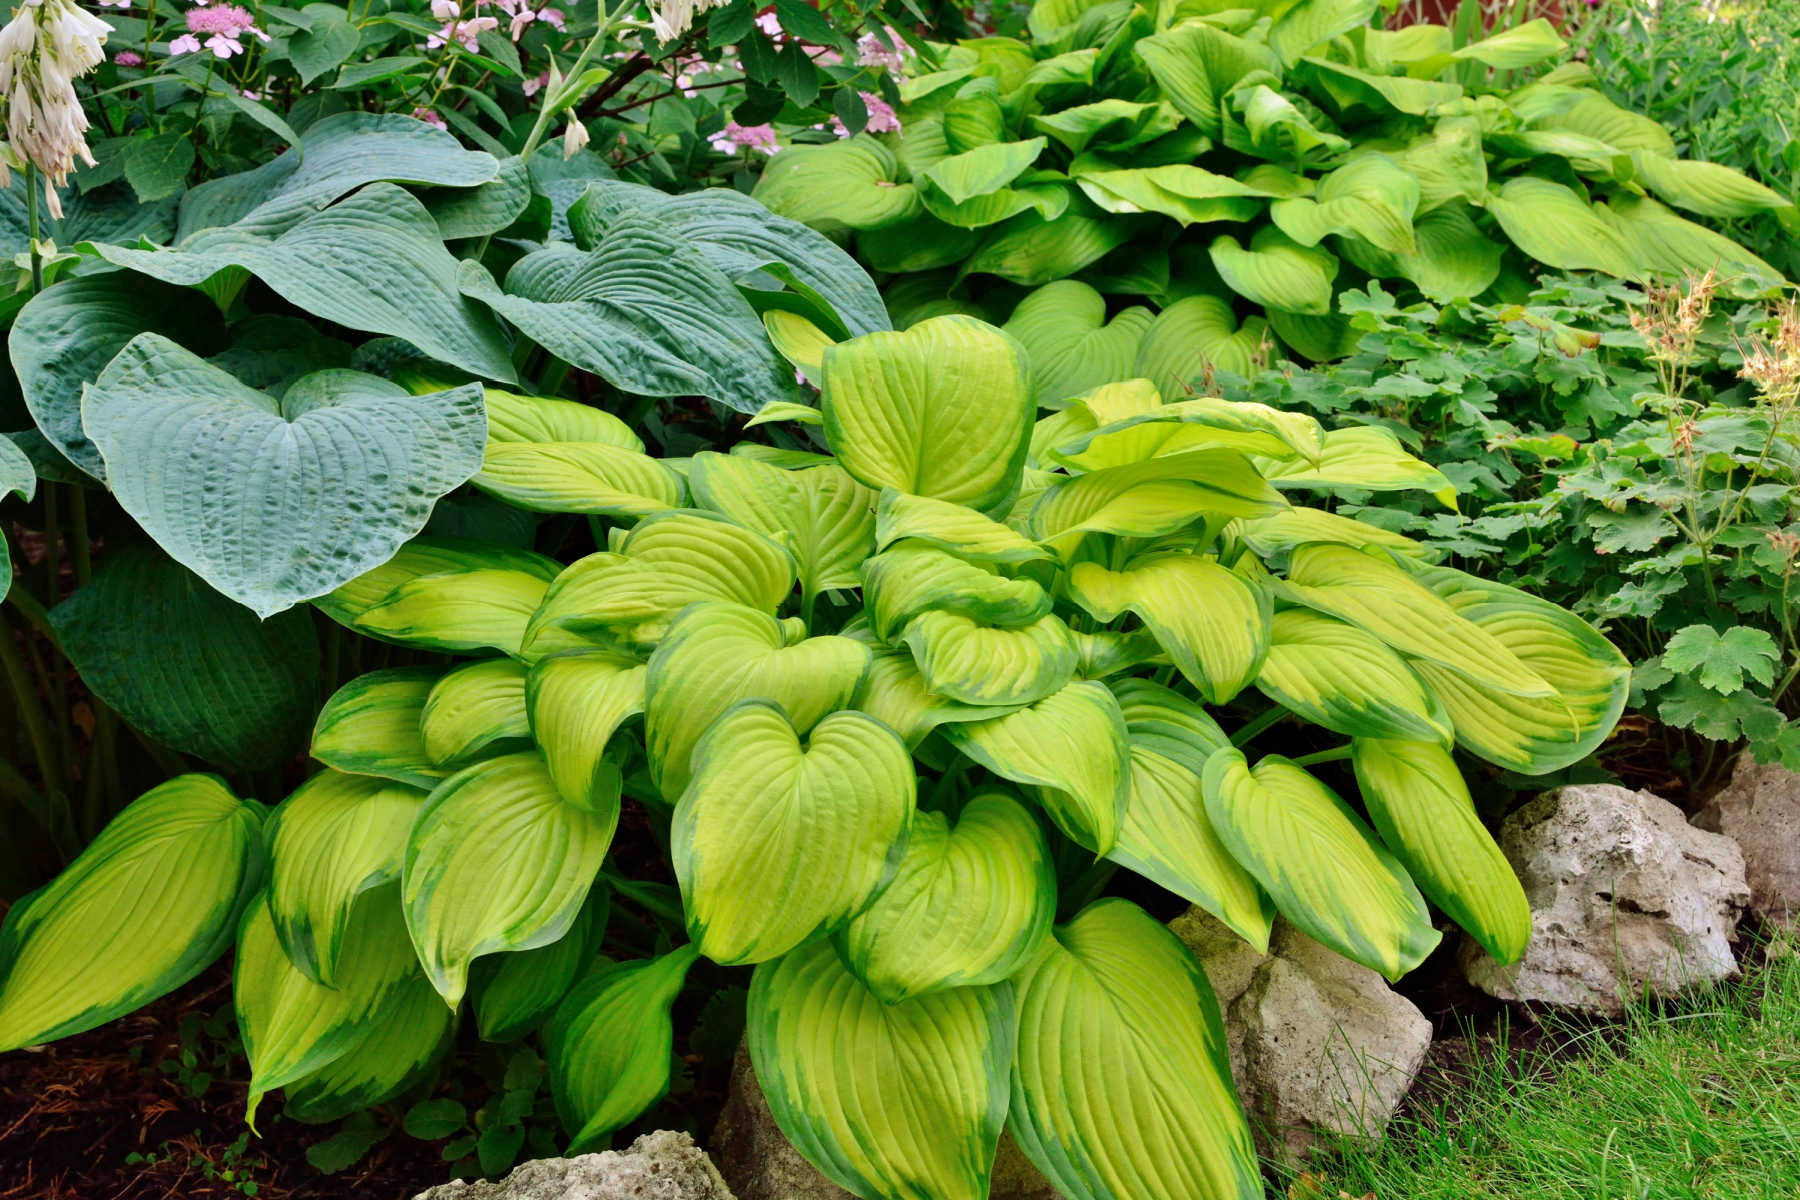
There are many different varieties of hostas, with variegated hostas or other varieties where the hosta foliage have deep green leaves and there are even some with blue green leaves. Some produce pale lavender flowers and others have white flowers.
With hundreds of varieties to choose from, you’re sure to find just the right hosta for your landscape.
Table of Contents
When To Plant Hostas
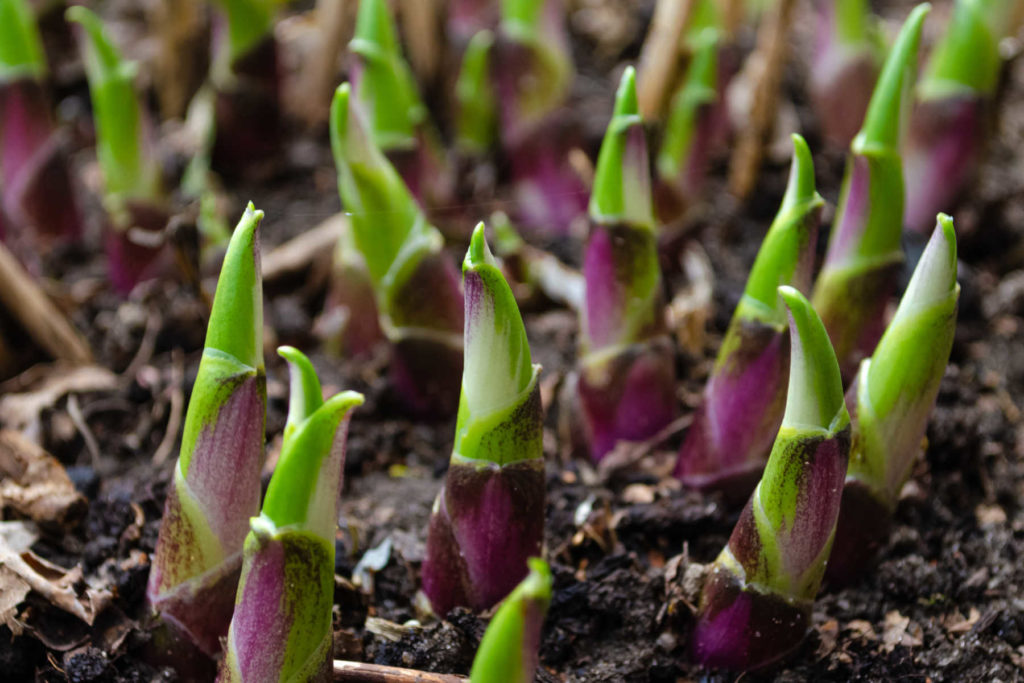
Hostas should be planted in the early spring or early fall.
They are hardy plants that begin to sprout before the last spring frost, so the earlier in spring you get them planted, the better. However, they will survive a late spring planting or transplanting even after the leaves have appeared on the plant. The plant might be stunted during the first growing season if planted late but it will recover by the second growing season.
Planting hostas in the fall allows the plant to get settled into its new home and develop a root system before the spring growing season.
How To Plant Hostas

Select a planting location that is in a secluded shady location.
Determine the mature size of the hosta variety you are planting and provide them with sufficient growing space. Most hostas will develop into a mound that is 2 feet in diameter with large leaves that extend beyond the 2 feet.
There are mini hosta varieties that remain smaller, like the Blue Mouse Ears, and some can even grow up to 6 feet in diameter like the Gentle Giant variety.
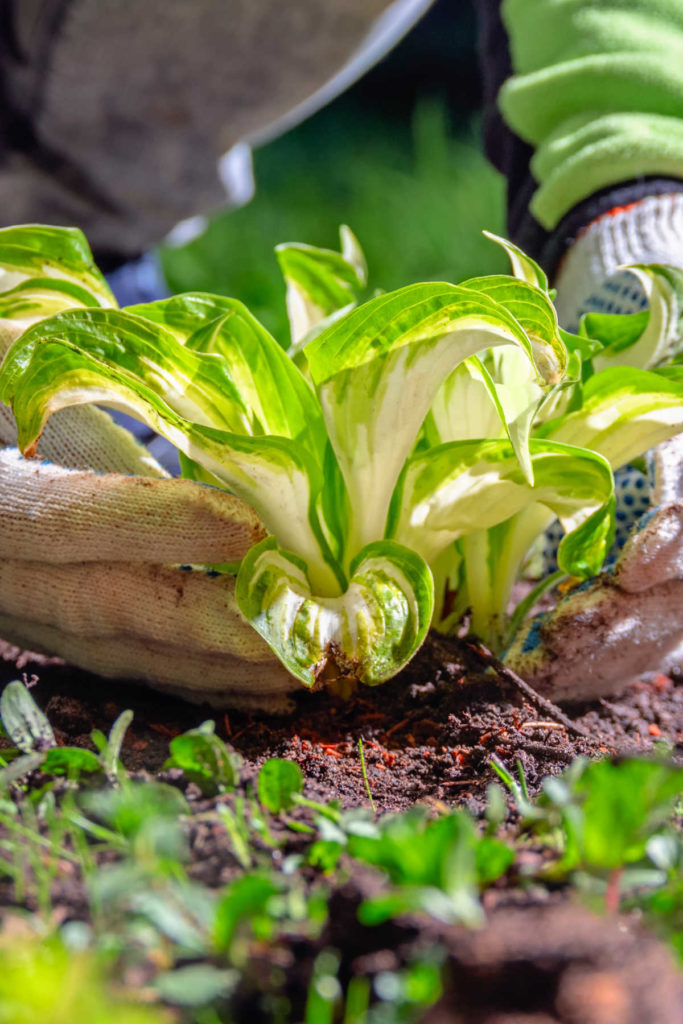
Dig a planting hole that is slightly larger than the root ball and at the same depth the hosta was in the container. Be sure the top of the root ball is even with the surrounding soil when planting.
Backfill the planting hole with soil but do not put any soil on top of the root ball. Gently firm the soil around the root ball and water the plant well. Place 2 inches of mulch around the plant to help keep the soil retain moisture.
When planting in the fall a light layer of straw or leaves on top of the plant will help protect it from the winter weather. Wait until the first frost of fall has fallen before applying a layer of straw or leaves.
Keep the soil moist for the first year with regular waterings.
Light Requirements
While hostas are shade loving plants that thrive in a shady location, they still need some sunlight to produce blooms.
Hosta grown in heavy shade rarely bloom, but the plant will still have interesting lush foliage throughout the growing season.
A location that receives partial shade, with sunlight for 2-4 hours a day, or dappled sunlight throughout the day, is ideal for both the foliage and bloom production.
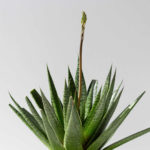
Hostas flower in summer with the bloom time depending on the variety being grown.
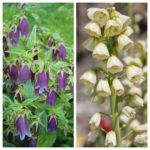
If the plant receives enough light it will send up tall spikes of bell-shaped flowers. Hosta flowers are beautiful in shades of lavender or white.
The bell-shaped flowers will last for 3 weeks and produce a lovely fragrance. The flowers attract both hummingbirds and bees.
Soil Requirements
Hostas are not picky about soil conditions but will grow best in soil that has been amended with plenty of compost.
Hostas will grow in sandy or clay soil or any other type of soil as long as the soil does not remain soggy.
Amending whatever type of soil you have with nutrient-rich compost before planting and adding a fresh layer of organic mulch on top of the soil yearly, the hostas will thrive.
Watering
Water the plants anytime the top 1 inch of soil is dry. Apply the water near the base of the plant and avoid getting the foliage wet.
Hostas do not like soggy soil but thrive in moist soil. Amending the soil with organic material before planting will promote good drainage so the soil can stay moist without drowning the roots.
Hostas planted under trees will need extra water as the trees (or large shrubs) will take most of the soil moisture for themselves.
Large hostas will also need to be watered regularly. Their large leaves form a canopy over the plant roots so rainfall doesn’t reach the soil around the base of the plant.
Potted hostas, especially ones planted in black plastic containers, will need frequent waterings during the hot summer months. Make sure the containers have plenty of drainage holes in the bottom so the excess water can drain away quickly. A layer of mulch will be beneficial to hostas grown in containers. It will help retain moisture and keep soil cool.
Temperature
These hardy plants will tolerate temperatures that dip slightly below freezing to a sweltering 100F.
In either extreme temperature, the plants will go dormant and stop growing. As soon as the temperature returns to a more favorable 50-80F they will resume growing.
Hostas are hardy in USDA growing zone 3-9.
Fertilizer
Hostas need a steady supply of nutrients to keep them growing strong. After the initial addition of compost to the soil before planting, the plants will need to be fed monthly throughout the growing season.
Feed with compost tea or your favorite type of organic plant food.
Pruning
Prune off the flower stalks after the blooms have faded and the stems begin to dry out. Snip the stems off close to the leaves.
The plants will die back to ground level after being frosted on. Remove the old leaves and discard them to prevent over-wintering any pests or diseases.
The plant leaves do not need to be pruned. If the plants begin to outgrow their space it’s time to divide and transplant.
Dividing And Transplanting Hostas
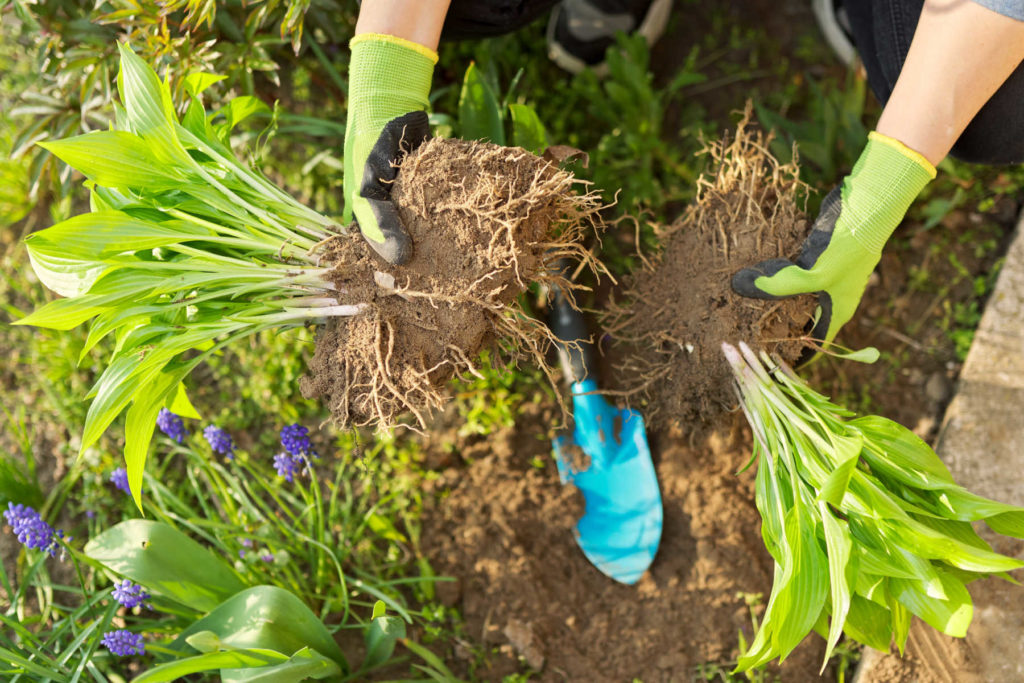
Hostas take around 5 years to reach maturity. They can be divided then if they are outgrown their space or if you want more plants in another location.
Divide in the spring or fall. Dig up the entire clump, digging out as many roots as possible (the root ball can be 18 inches deep). Move the plant onto a tarp and use a shovel or a knife to cut through the root ball to divide it into smaller sections.
Transplant the sections using the planting guidelines listed above.
Problems – Pests And Diseases
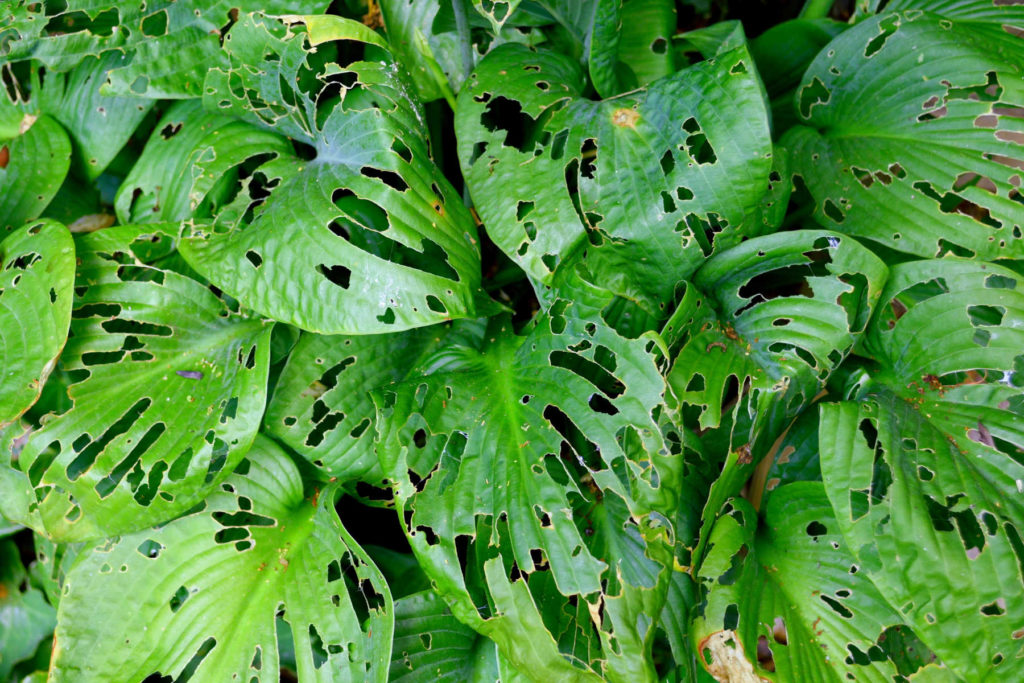
Slugs, rabbits, and deer are the primary pests that love the taste of tender hosta leaves.
Using a rough mulch, like tree bark, will keep the slugs away from the plants. Netting or fencing will help keep the large pests away.
Hostas are disease-resistant and are rarely bothered with any type of disease issue except for those caused by over-watering. If the soil remains too wet for the plant, they will develop root rot, crown rot, or bacterial soft rot.
They can develop a few viruses, including tomato ringspot or anthracnose. The viruses will present in leaf curl or browning. When detected early, the viruses or diseases are treatable.
Tips

* Bees love the white and purple flowers on hosta plants so they are an ideal flower to place in a bee garden. The moist soil under the plants quench their thirst and the pollen-filled flowers give them material to make honey.
* Hostas can easily be grown in containers. Match the container size to the mature size of the plant and place the container in a partially shaded area. Container-grown plants dry out much faster than plants grown in-ground so be careful to water enough without over-watering.
* Cover plants with a fresh layer of lightweight mulch after they die back for the winter.
* Propagate new plants by placing a leaf stem in a jar of water. When new roots grow from the bottom of the leaf stem, transplant it into the soil.