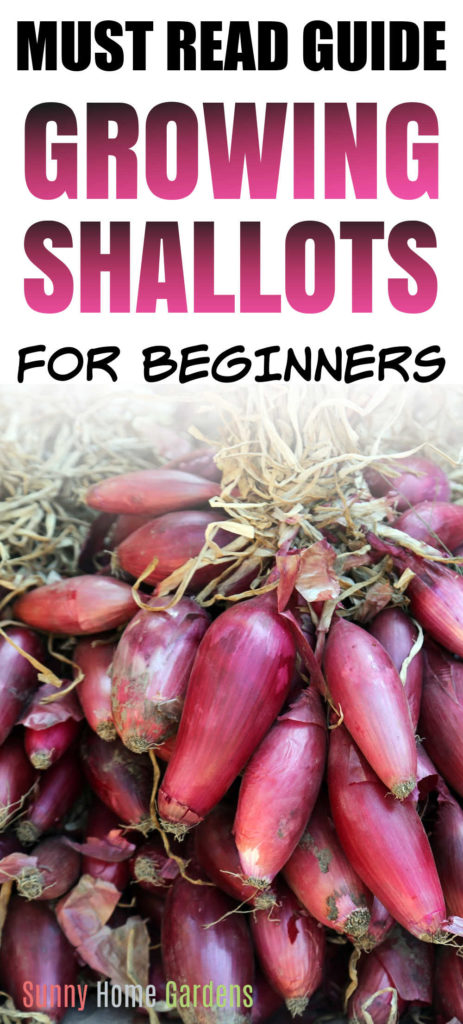
Shallots are such a great culinary item to grow in your backyard garden. They are fairly easy to grow and a great crop to plant in fall.
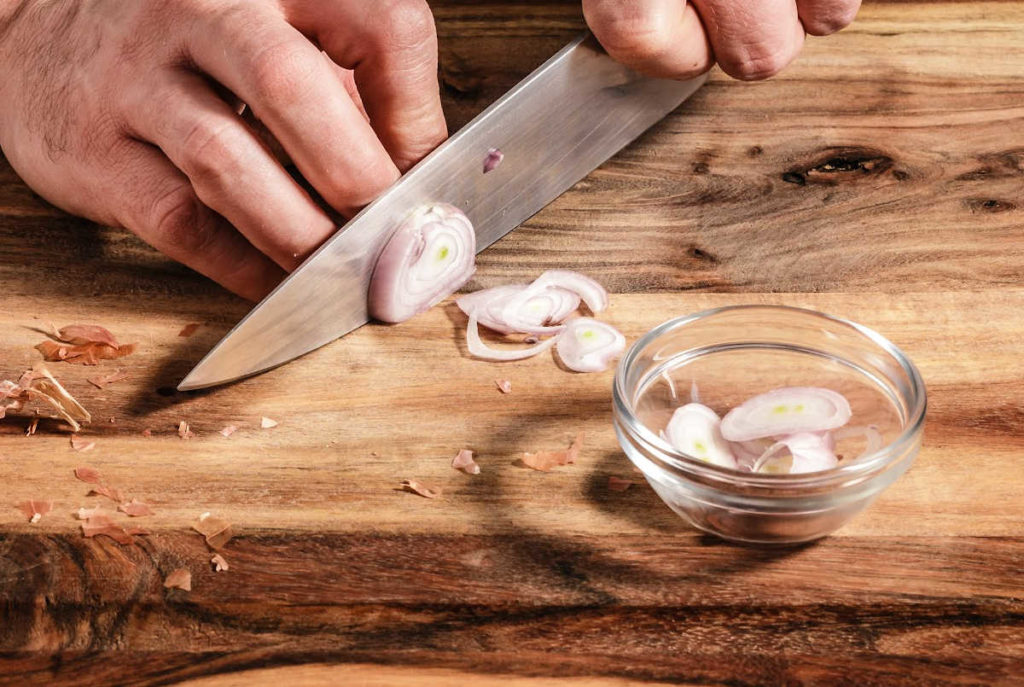
Shallots, also known as the multiplier onion and gourmet onion, tastes like a cross between an onion and garlic and looks like an over-grown green onion. Even though the vegetable seems to have an identity crisis, it’s well worth a spot in your home garden and on your table.
You most likely have seen shallots at the grocery store, even if you are unfamiliar with them. They are typically next to the garlic or onions.
Shallots are easy to grow and part of the allium family. They need full sun and fertile soil. You can do a fall planting of shallots for a harvest the following spring or a spring planting for a late summer crop.
You can also save back some shallot bulbs to plant for next year.
Table of Contents
Shallot Varieties
There are many different varieties of shallots. Here are a few:
- Dutch Yellow
- French Red
- Holland Red
- Creme Brulee
- Monique French
- French Gray Shallots
How To Plant Shallots
If you are planting shallots in your garden, they are best grown in zones four through ten.
You can plant shallots in either fall or spring. If you plant in fall, you’ll harvest in early summer and if you plant in the spring, you’ll harvest in the late summer.
You can either plant shallot seeds or sets.
Planting seeds will yield three or four bulbs from each plant. Sets, however will give you a cluster of bulbs with up to eight to twelve bulbs per plant.
How To Plant Shallots From Seeds
Shallot seeds can be planted in early spring as soon as the soil is workable. Create a shallow trench 1/4-inch deep in prepared soil and sow seeds in the trench 2-inches apart. Cover lightly with soil and water gently.
Create the planting trenches 12-inches apart. If you want larger shallots, thin the seedling to 3-inches apart.
Indoor Sowing of Seeds
Shallot seeds can be started indoors 8-10 weeks before the last frost date in your area.
Sow seeds in a seed tray or cups that are at least 2-inches deep. Moisten the soil, cover with plastic wrap, and place it in a warm location. Keep soil moist and the seeds will germinate in 10-14 days.
When the first sprigs of green appear, remove the plastic wrap and place seedlings in a sunny indoor location or under grow lights. Keep soil moist.
Transplant the seedling outdoors in prepared soil after all danger of frost has passed in the spring.
Outdoor Sowing
After the soil is prepared, you can make shallow trenches or shallow holes for sowing seeds outdoors. The trench or planting holes should be 1/4-inch deep and covered lightly with soil after seeds are planted. When using planting holes, place 2 shallot seeds inside each hole.
Seeds should be 2-3 inches apart in their rows with rows spaced 12-inches apart.
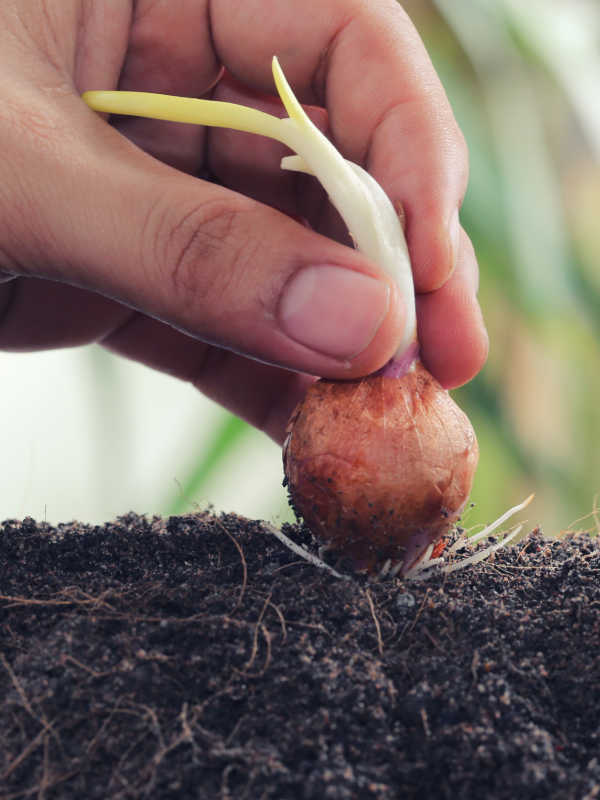
How To Plant Shallots From Sets
A shallot set is a group of small shallot bulbs that will multiply 10-15 times after being planted.
A shallot set is typically sold in a 1-pound bundle which in turn will provide a harvest of around 10-15 pounds of mature shallots. You’ll find that if you are planting French varieties, you’ll need to plant sets as this variety only rarely flowers, which means seeds aren’t made.
Shallot sets are planted in the fall and allowed to grow and multiply throughout the winter.
Harvest time will be in spring when soil is workable and the shallots can be removed from the soil without damaging them.
Start the planting process 4-weeks before the first predicted freeze of winter. Prepare the soil and separate the shallot set into individual bulbs. Plant each bulb, root ends down, in a hole that is 1-inch deep, and space the holes 6-inches apart. This will provide plenty of underground room for the shallots to multiply.
Cover the bulbs lightly with soil and water thoroughly. Apply 2 inches of mulch, such as straw, around the base of the plants. Shallots have shallow roots and this layer of mulch is needed to prevent the bulbs from drying out and to prevent them from being heaved out of the soil during the winter.
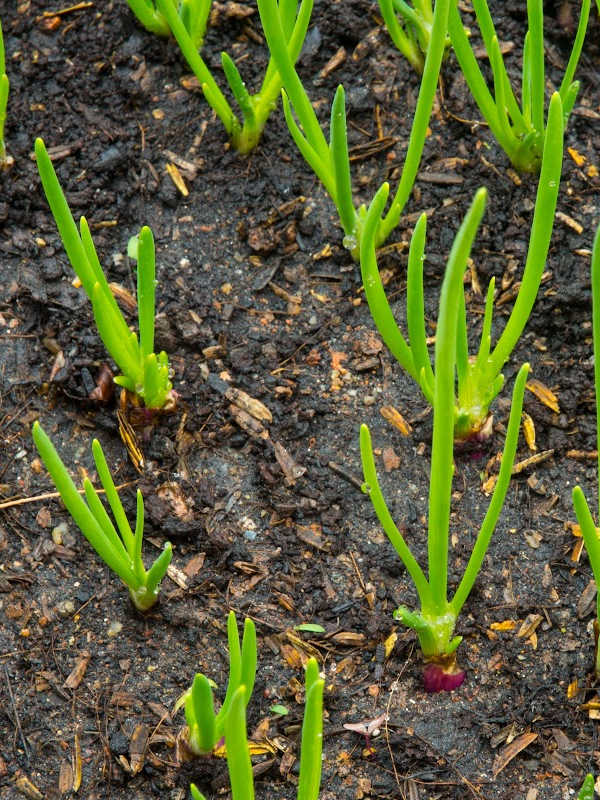
When signs of new growth appear in spring, gently remove the mulch from around the base of the plant so the roots can warm up under the sun. Apply a side dressing of your favorite organic fertilizer to give the shallots a boost of energy needed to bring them to maturity.
Light Requirements
Even though the bulb grows under the soil, shallots require plenty of sunlight to develop.
Plant shallots in a sunny location that receives 6-8 hours of full sun each day.
Soil Requirements
You want to avoid using heavy soils. As a root crop, shallots require loose soil that is nutrient-rich to grow and develop to their fullest potential. Amend soil with compost and dig the soil down to 6-inches. Shallots have shallow root systems so 6-inches will provide plenty of depth for the roots and developing bulb.
When growing shallots in a container, use potting soil that contains compost or create a growing mix that is 2/3‘s potting soil and 1/3 compost.
Growing shallots in a raised bed is ideal for the home gardener, it allows you to have total control over the soil composition.
Watering
Shallots thrive in semi-dry soil conditions after germination.
Water only when the top of the soil is dry. Apply water at the base of the plants to avoid getting the green stems wet. 1-2 inches of water each week is sufficient.
Temperature
Shallots thrive in the cool temperatures of spring and fall. 55-65F degrees (13-22C) is ideal.
Shallots need 30 days of cool weather just after planting so they can have a dormant period before their active growing stage.
Fertilizer
Feed shallots with compost, well-rotted animal manure, bone meal, kelp, or fish emulsion.
Don’t feed shallots with a nitrogen-rich fertilizer as it will promote the development of thick plant necks and place the shallots at risk for a disease called ‘neck rot’.
Amend soil with compost or animal manure at planting time, then just before the bulbs begin to enlarge in early spring feed them again.
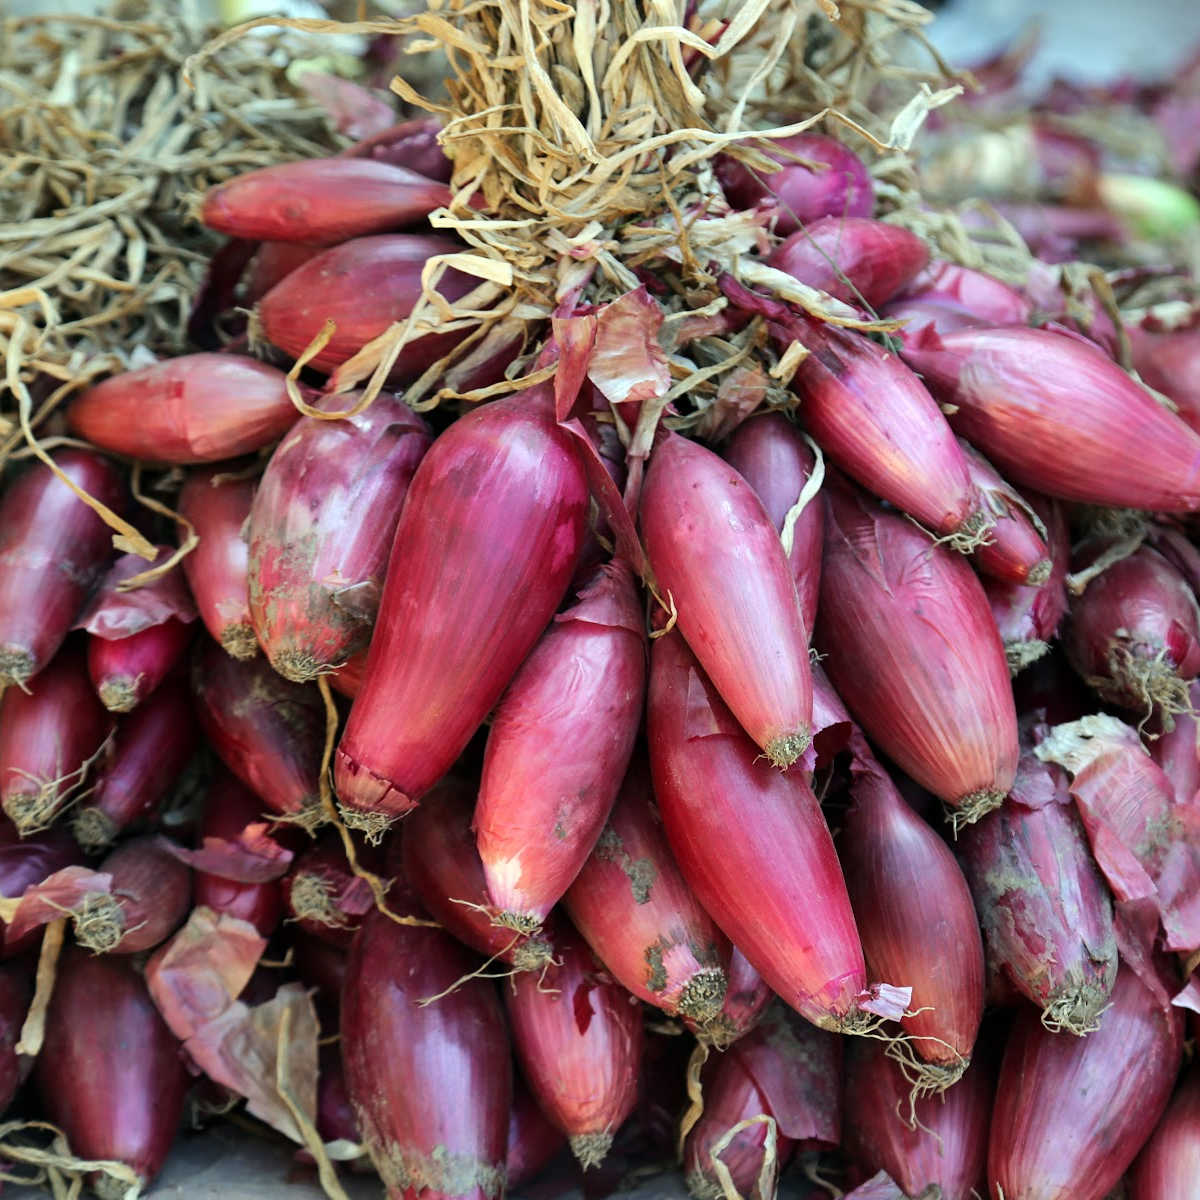
How To Harvest & Cure Shallots
It typically takes 90-120 days from seed planting to harvest time. When the necks of the plants (the section of the stalk just above the soil level) become soft and the green tops begin to fall over, it’s time to harvest the shallots.
Harvest the ripe shallots by grasping the stalk near the base and pulling straight up. Since the roots are shallow the bulbs should come right out of the soil without resistance.
Gently scratch away some of the soil around the bulbs if there is any resistance so the green tops won’t break off the bottom bulbs.
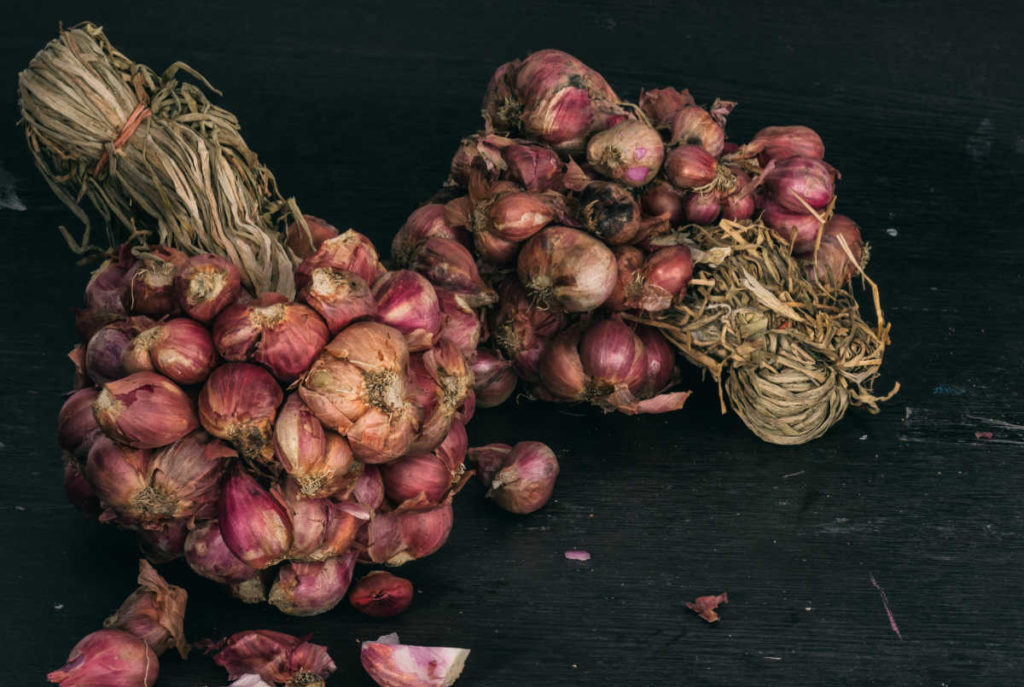
Shake off as much soil from the clusters of bulbs possible and lay shallots in a single layer in a cool, dry place for 7-days to cure.
If there’s no rain in the forecast the shallots can be left on top of the soil in a dry spot, in a shaded location of the garden for 7-days to dry and cure. If they are left in the sun to cure the bulbs will get sunburned.
Remove the tops and roots from the bulbs and store shallots in a cool, dry place. Shallots will be good for up to eight months if they are stored properly.
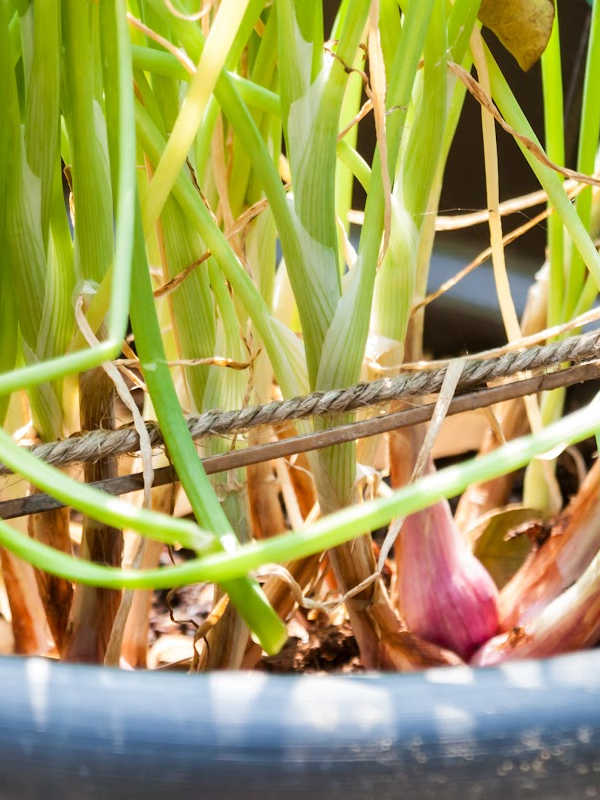
The green tops of shallots can be harvested any time after 30 days of active growth. The green, leafy tops make a good alternative for chives or green onions.
Common Pests and Diseases
Shallots are susceptible to diseases and pests just like other plants.
Some fungal diseases to be aware of are pink, rust, and white rot. These all effect shallots from the root end up to the foliage.
If you see this on any of your plants, immediately remove the affect plant material and try to contain the spread of this disease. It can stay in your soil for years.
If you are doing a crop rotation, you’ll already have a few years spacing before planting from the allium family in this garden bed, which is a good idea.
Make sure to PIN THIS post for later.