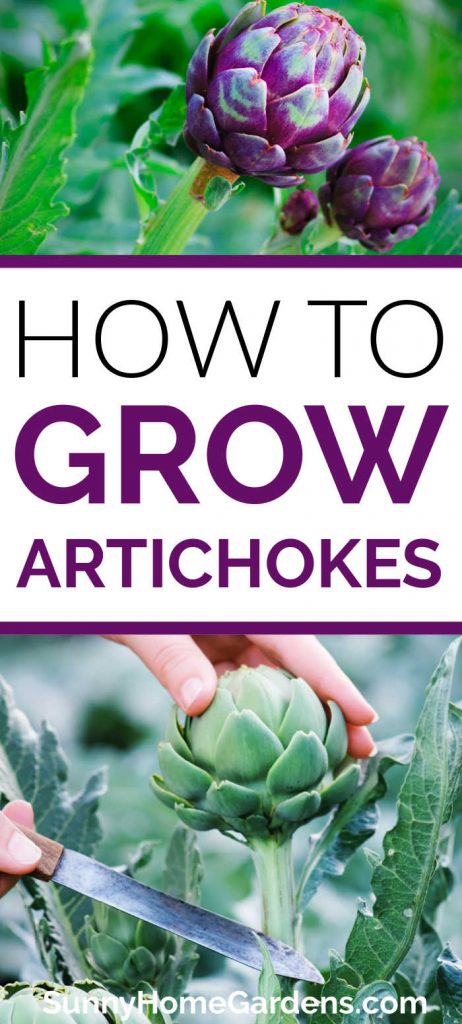
Growing artichokes is super easy to do. The taste of artichokes is mild and delicious or you can let your plant flower and the artichoke flowers are gorgeous.
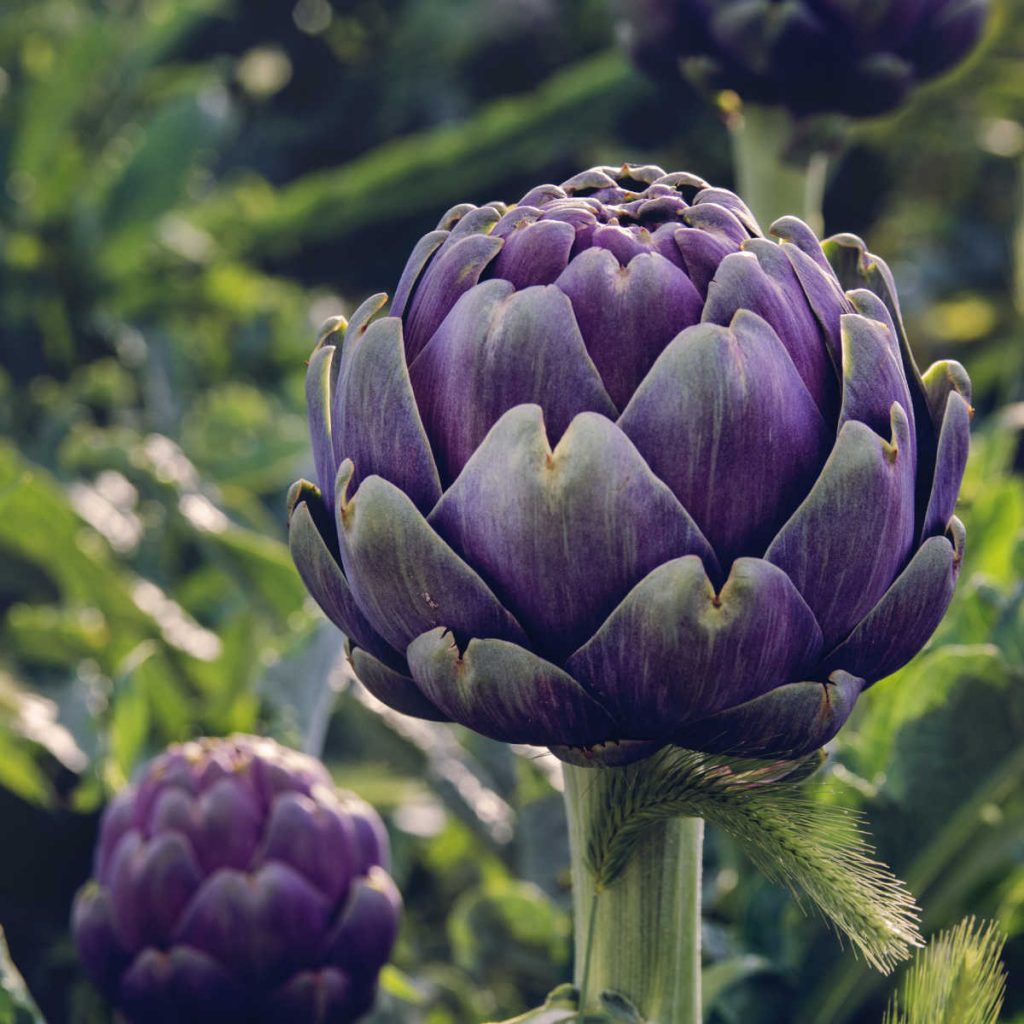
I probably say this for almost everything I grow, but I love growing artichokes! They are one of my favorites.
When a few of the artichokes first flowered, it was so fun seeing how different and unique the artichoke flowers are. They are purple and spiky and at that point, I had never seen any flowers like it.
Plus, bees love artichoke flowers!
Artichokes are perennial plants that are grown for their tender edible flower buds.
Because of their unique pine-cone-like appearance, these attractive plants also add a unique architectural element to a home vegetable garden.
In addition to being easy to grow and beautiful, artichokes pack a lot of nutritional benefits.
They are loaded with fiber, protein, vitamins C, K, and B6, potassium, phosphorus, and calcium.
Eating this vegetable regularly can help lower bad cholesterol and raise good cholesterol, stabilize blood sugar, improve liver health, reduce high blood pressure, improve digestive health, and may offer protection against some forms of cancer.
With all the good benefits that artichokes provide, it’s time to get started growing them in your home garden.
RELATED: Perennial Vegetables to Plant in Your Garden
RELATED: Rhubarb Growing Guide
Table of Contents
Growing Artichokes
No matter if your are growing artichokes to eat as a vegetable or enjoy as artichoke flowers, growing and caring for them are the same.
Growing from Seeds
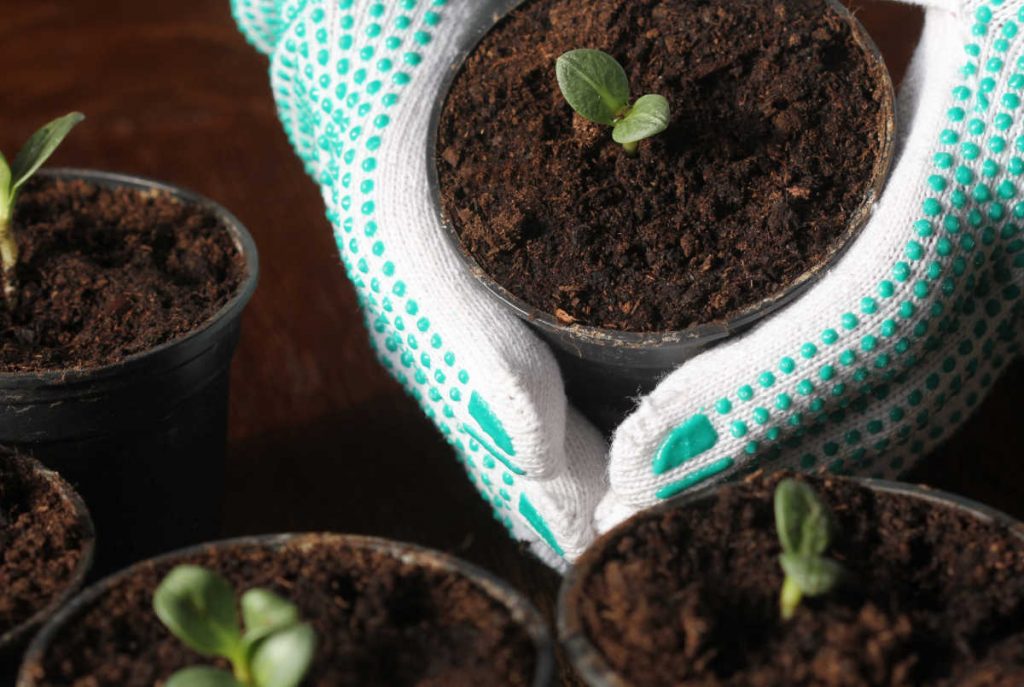
Growing artichokes from seed isn’t very hard. In fact, this is how we’ve grown all of our own artichoke plants throughout the years.
We’ve started ours inside in pots as well as directly in the ground. If you live in an area with a shorter growing season, I’d suggest starting them inside.
Make sure to use a container that is at least 4-inches deep when starting artichoke seeds indoors.
These plants develop a long taproot and need to be started in a container that is deep enough to accommodate the taproot. Don’t start the seeds in the typical seed tray or shallow biodegradable seed cup or the plants may not develop properly.
Plan to start your artichoke seeds inside in late winter, around the middle of February.
Fill container with good quality potting soil.
Place each seed 1/4-inch deep in the center of the container. Individual containers can be used to start seeds or a wide planter can be used to start seeds as long as it’s 4-inches deep. Space seeds 4-inches apart in a large container.
Lightly cover seeds with more potting soil and water gently so the seed won’t be disturbed.
The seed containers will need to be placed in a warm, well-lit location, like under a grow light, in a greenhouse, or in a location where the south-west sun will shine directly onto the containers.
Keep seed containers at a constant 70-75 degrees F so the seeds will germinate. Allow 2-3 weeks for seeds to sprout.
Keep soil moist but not soggy at all times.
Artichokes are heavy feeders and a regular feeding schedule will need to be started as soon as the seeds sprout. Mix water-soluble plant food at one-half the recommended rate and feed this to the plants once a week from sprouting time through 1-week before harvest time.
How to Directly Sow Artichoke Seeds
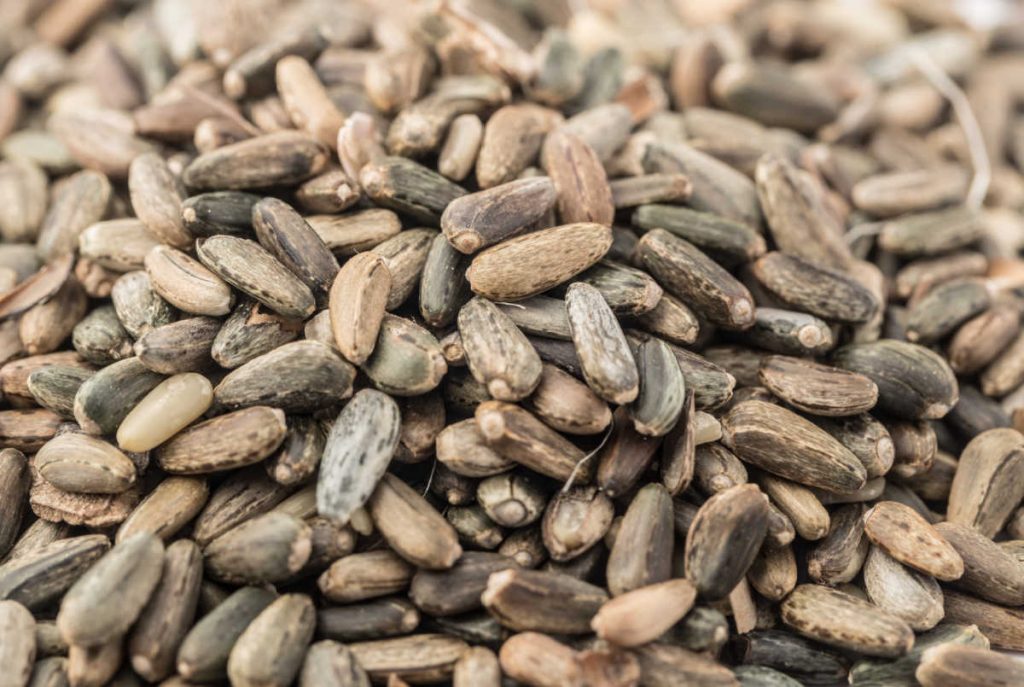
If you want to start your seeds directly in the ground, wait until the danger of frost has passed.
Artichokes need nutrient-rich soil, loose soil to grow in.
Work soil to the depth of 8-10 inches to loosen it so the taproots will be able to grow deep into the soil. Incorporate compost and/or fish emulsion into the soil to ensure it’s is rich in nutrients.
Artichokes are tall-growing plants and can reach a height of 5-6 feet tall and up to 5-feet wide when mature, so be sure there is plenty of space for the plants to grow.
Sow seeds directly into outdoor prepared soil in late spring after all danger of frost has passed.
Sow the seeds 12-inches apart, 1/4-inch deep, and thin plants out after germination to 5-feet apart. Pluck up the weaker-looking plants to thin.
Space rows 8-feet apart to make watering, feeding, and harvesting easier. This will also allow plenty of room for good air circulation between the plants.
Artichoke plants grow into large bushes that need a very long growing season.
To set their buds, the plants need a period of vernalization (period of cool temperature) for at least two weeks. The plants need temperatures below 50 degrees F during these two weeks yet they are extremely frost-sensitive.
It can be a little tricky to find the perfect time to sow seeds directly into outdoor soil when frost has passed but the temperatures are still cool.
Plant the seeds early and keep a watchful eye on the nightly weather reports. Also, keep a supply of plant coverings on-hand just in case a late frost is predicted.
Begin feeding the plants weekly as soon as they sprout with water-soluble plant food mixed at one-half the recommended rate.
🌱 Transplanting Artichoke Seedlings
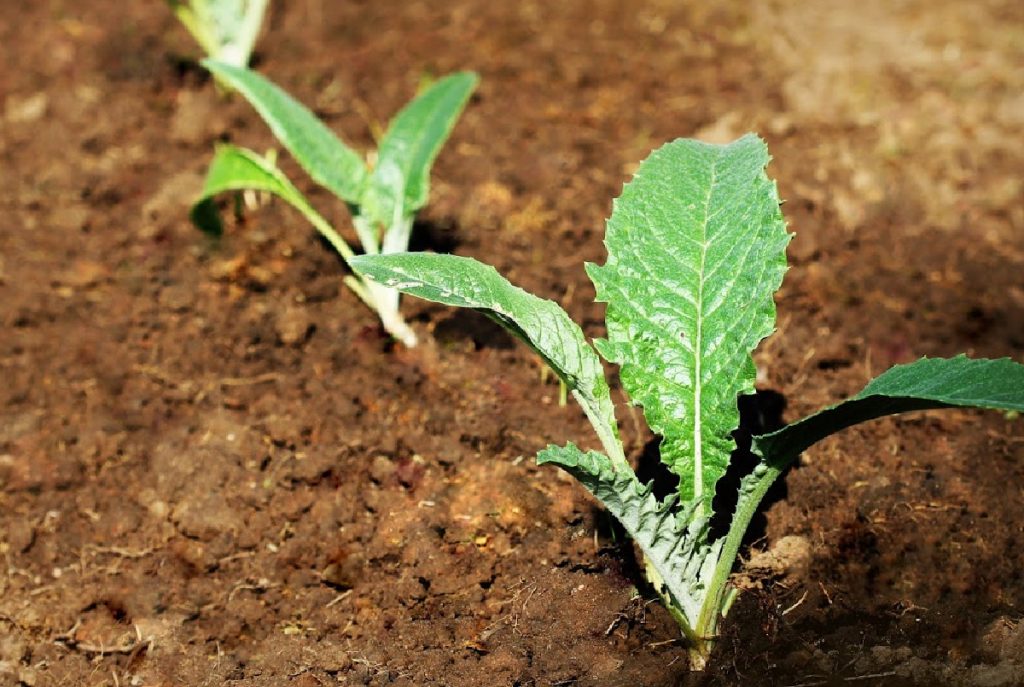
Seedlings should be 6-8 inches tall at transplant time and have at least 3-4 leaves.
Place the plants in a location where they can grow for the next 5-years if you live in a mild climate.
Artichokes grown in climates that have mild winters and cool, moist summers will act as perennial plants, Artichokes grown in cold or hot climates will act as an annual plant and only produce the first year.
Because the plants need 2-weeks of vernalization, the seedlings must be ready to set out right after the last frost date, but before spring temperatures become too hot.
The seedlings will not survive if the ground freezes.
2-weeks before transplanting the seedlings, place them outside in a protected location to harden-off.
This hardening off process will toughen the seedlings up so they can withstand being transplanted outdoors with minimal transplant shock.
Transplant on an overcast day, just before it rains, or late in the afternoon on a sunny day.
RELATED: How to Grow and Care for Asparagus
RELATED: Guide to Growing Garlic in Containers
☀️ Light
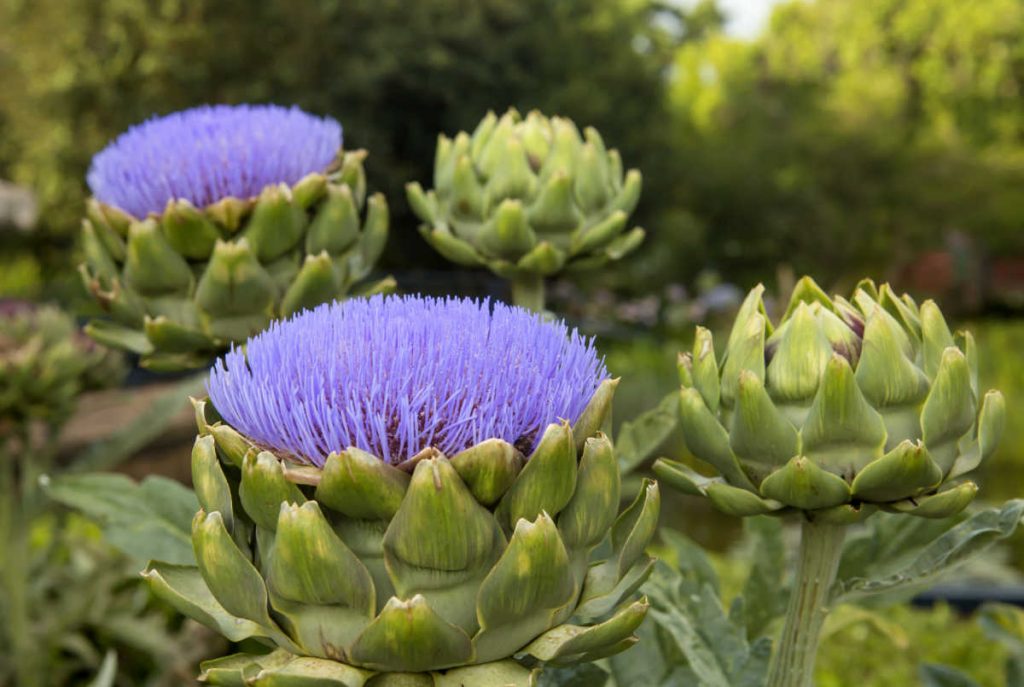
Artichokes require full sun to grow. Plant in a location that receives at least 6-hours of direct sunlight each day.
Spacing is important to ensure the taller plants don’t shade the shorter plants. Space 5-feet apart in the rows and space rows 8-feet apart.
Soil
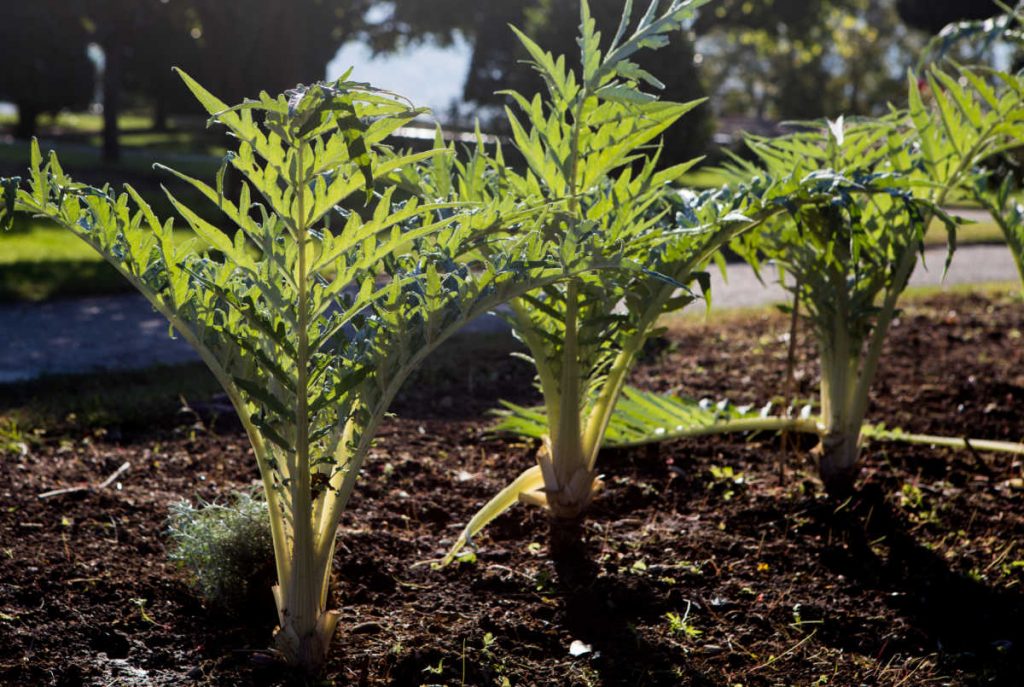
These plants will produce best when they are grown in fertile soil that has been deeply tilled.
Till the soil to 18-inches and add 6-inches of compost on top and lightly work it into the soil.
Plenty of organic matter is essential to keep the soil loose and fertile for artichokes. Avoid planting in soil that is sandy or contain clay.
💧 Water
Artichokes love water and should be watered 1-3 times a week during the summer months. Water the plants deeply and consistently to encourage the taproot to grow deeply.
To help keep the plants cool when summer temperatures rise too high, water the plants from overhead. Apply a 20-inches layer of organic mulch around the plant base to help soil remain cool and to help retain soil moisture.
🌡️ Temperature
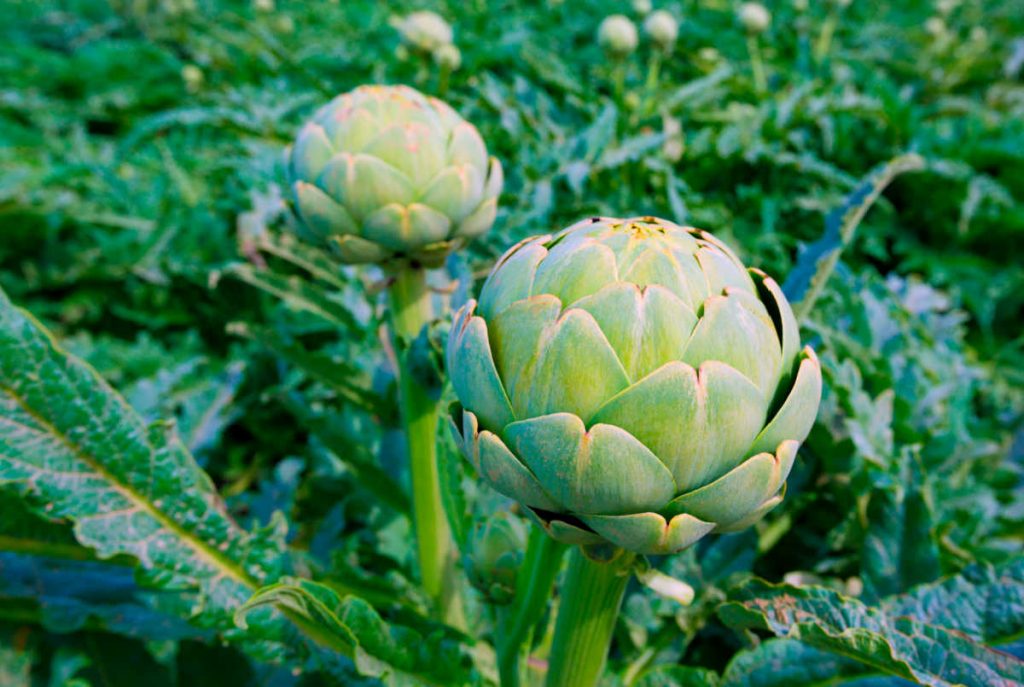
Seeds will need temperatures around 70-75 degrees F for germination, followed by a period of cooler temperature for vernalization. Two weeks of around 50-degrees F provides the right environment for vernalization.
Move indoor seeds containers to a cooler location after the seeds have germinated, and plant seedlings outdoors immediately after the last predicted frost date.
Artichokes like temperatures that aren’t too cold or too hot.
If you live in an area with really cold winters, then you’ll find your artichoke plants aren’t able to make it through. You can mulch around the artichoke plants to help protect the roots and give it a better chance of surviving the winter.
Hot, hot, hot summers are also something the artichoke doesn’t like. If you live in an area with really hot summers, you might want to plant them in an area that gets a little shade from the afternoon sun.
Fertilizer
Light weekly feedings are preferred over heavy monthly feedings. Mix your favorite water-soluble plant food at one-half the recommended rate and feed it to your artichoke plants weekly.
Skip the water-soluble plant food on weeks when there has been plenty of rainfall.
Harvest & Storage
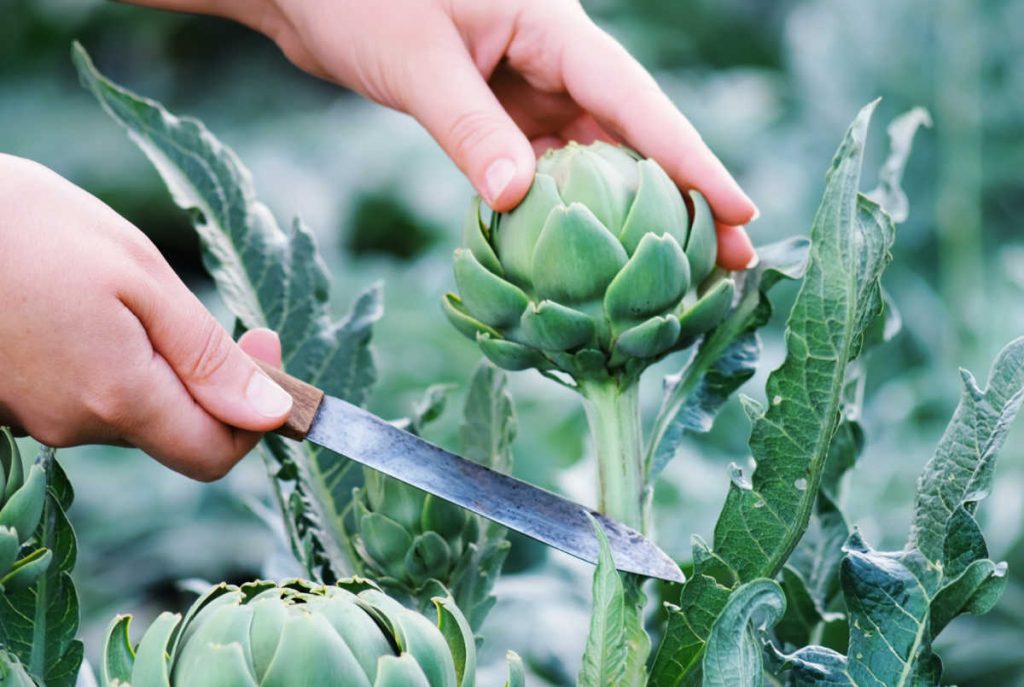
Artichokes will be ready to harvest in 110-150 days and will produce their harvest in late summer.
To harvest artichokes, use a sharp knife or hand clippers and cut the stem approx.. 1- 3 inches from the base of the bud.
After you harvest the center bud, the plant will produce side shoots. These side shoot have small buds that are about 1-3 inches in diameter. You’ll find the side buds, although smaller are still just as delicious – super tender.
After harvesting all the artichokes from a plant, cut the plant back to 2-inches off the ground, feed with plant food, and apply a fresh layer of mulch to try for a second harvest.
We have been able to harvest our artichokes the first year, but it’s common to not have your artichoke plant have anything to harvest until the second year.
If you like larger artichokes, make sure to cut off a few of the artichoke spikes, so the plant is able to focus on just 3-4 buds and make those ones bigger.
When to harvest artichokes
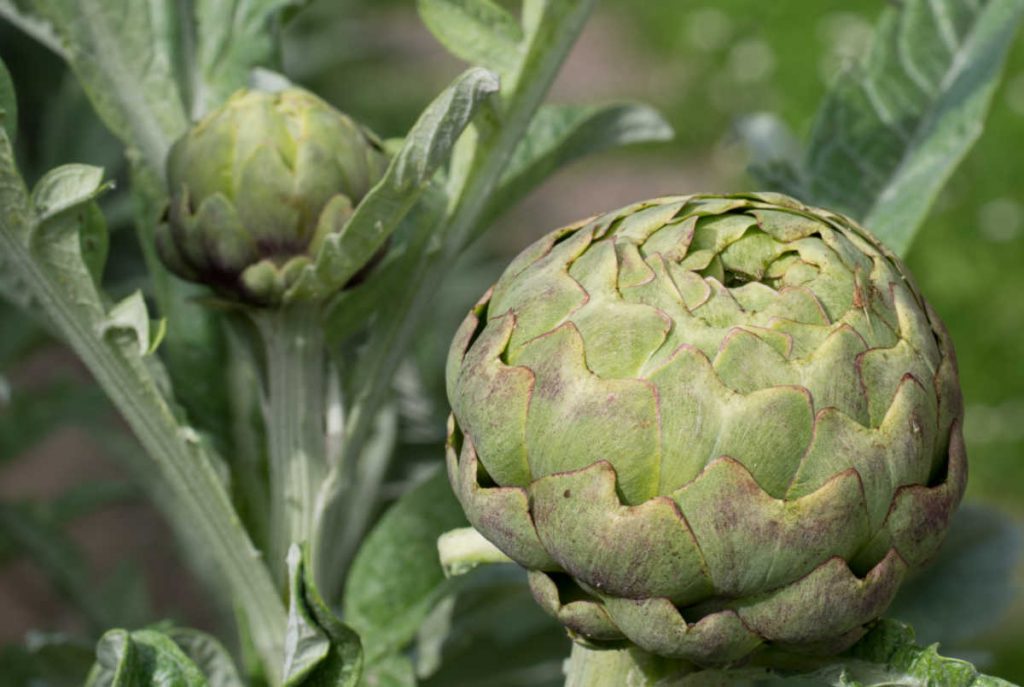
When you harvest the artichokes, you want the leaves to be tight and snug. If you notice them starting to open, make sure to harvest them.
As the leaves start to open, the bit of meat on each leaf will be dryer and smaller.
I hope you enjoy growing artichokes as much as we do!
If you found this post helpful, please “Pin In“!
